Master Smartphone Photography: Learn Real Photography Skills & Take Better Photos
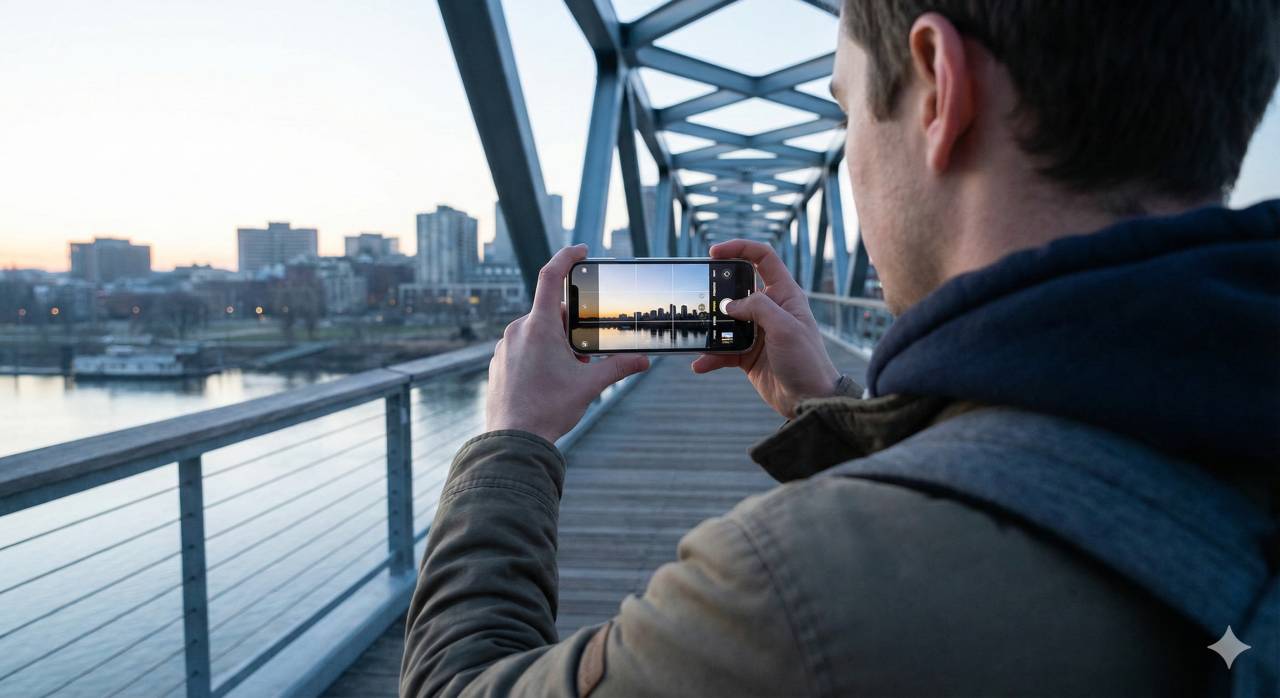
Direct answer: Smartphone photography is the practice of using a mobile phone camera to learn core photographic skills such as composition, timing, lens choice, light control, and editing. A modern smartphone camera is good enough to teach real photography because it gives you an ultra-wide, standard, and telephoto view, immediate feedback, and daily opportunities to practise deliberate image-making.
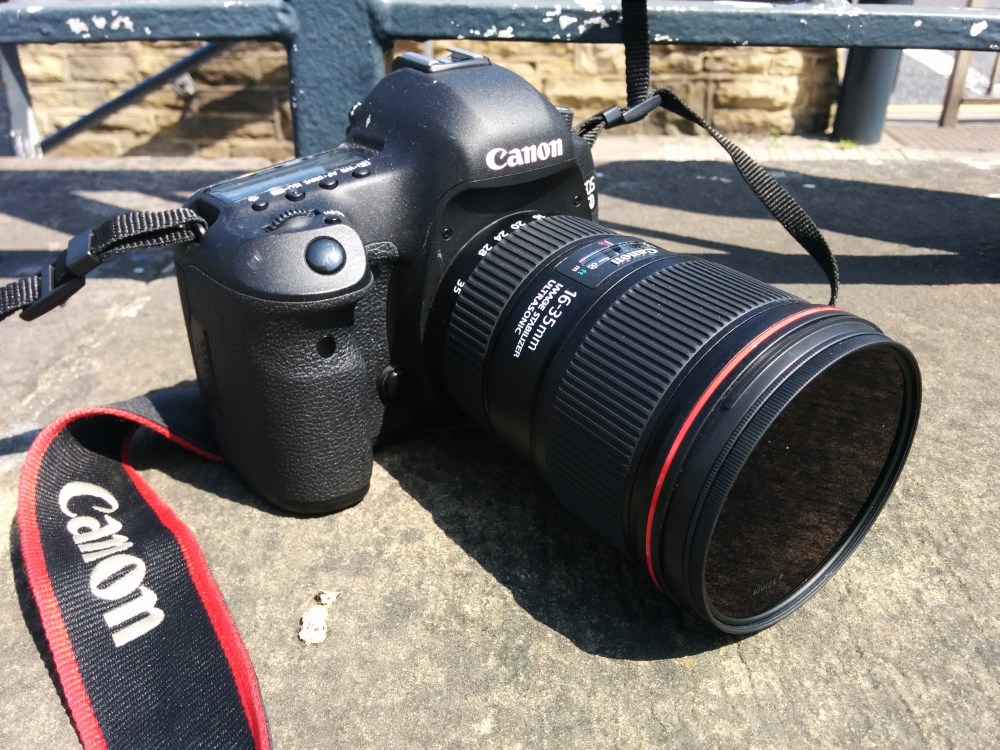
Ade McFade, CAA Licensed Pilot & Commercial Photographer.
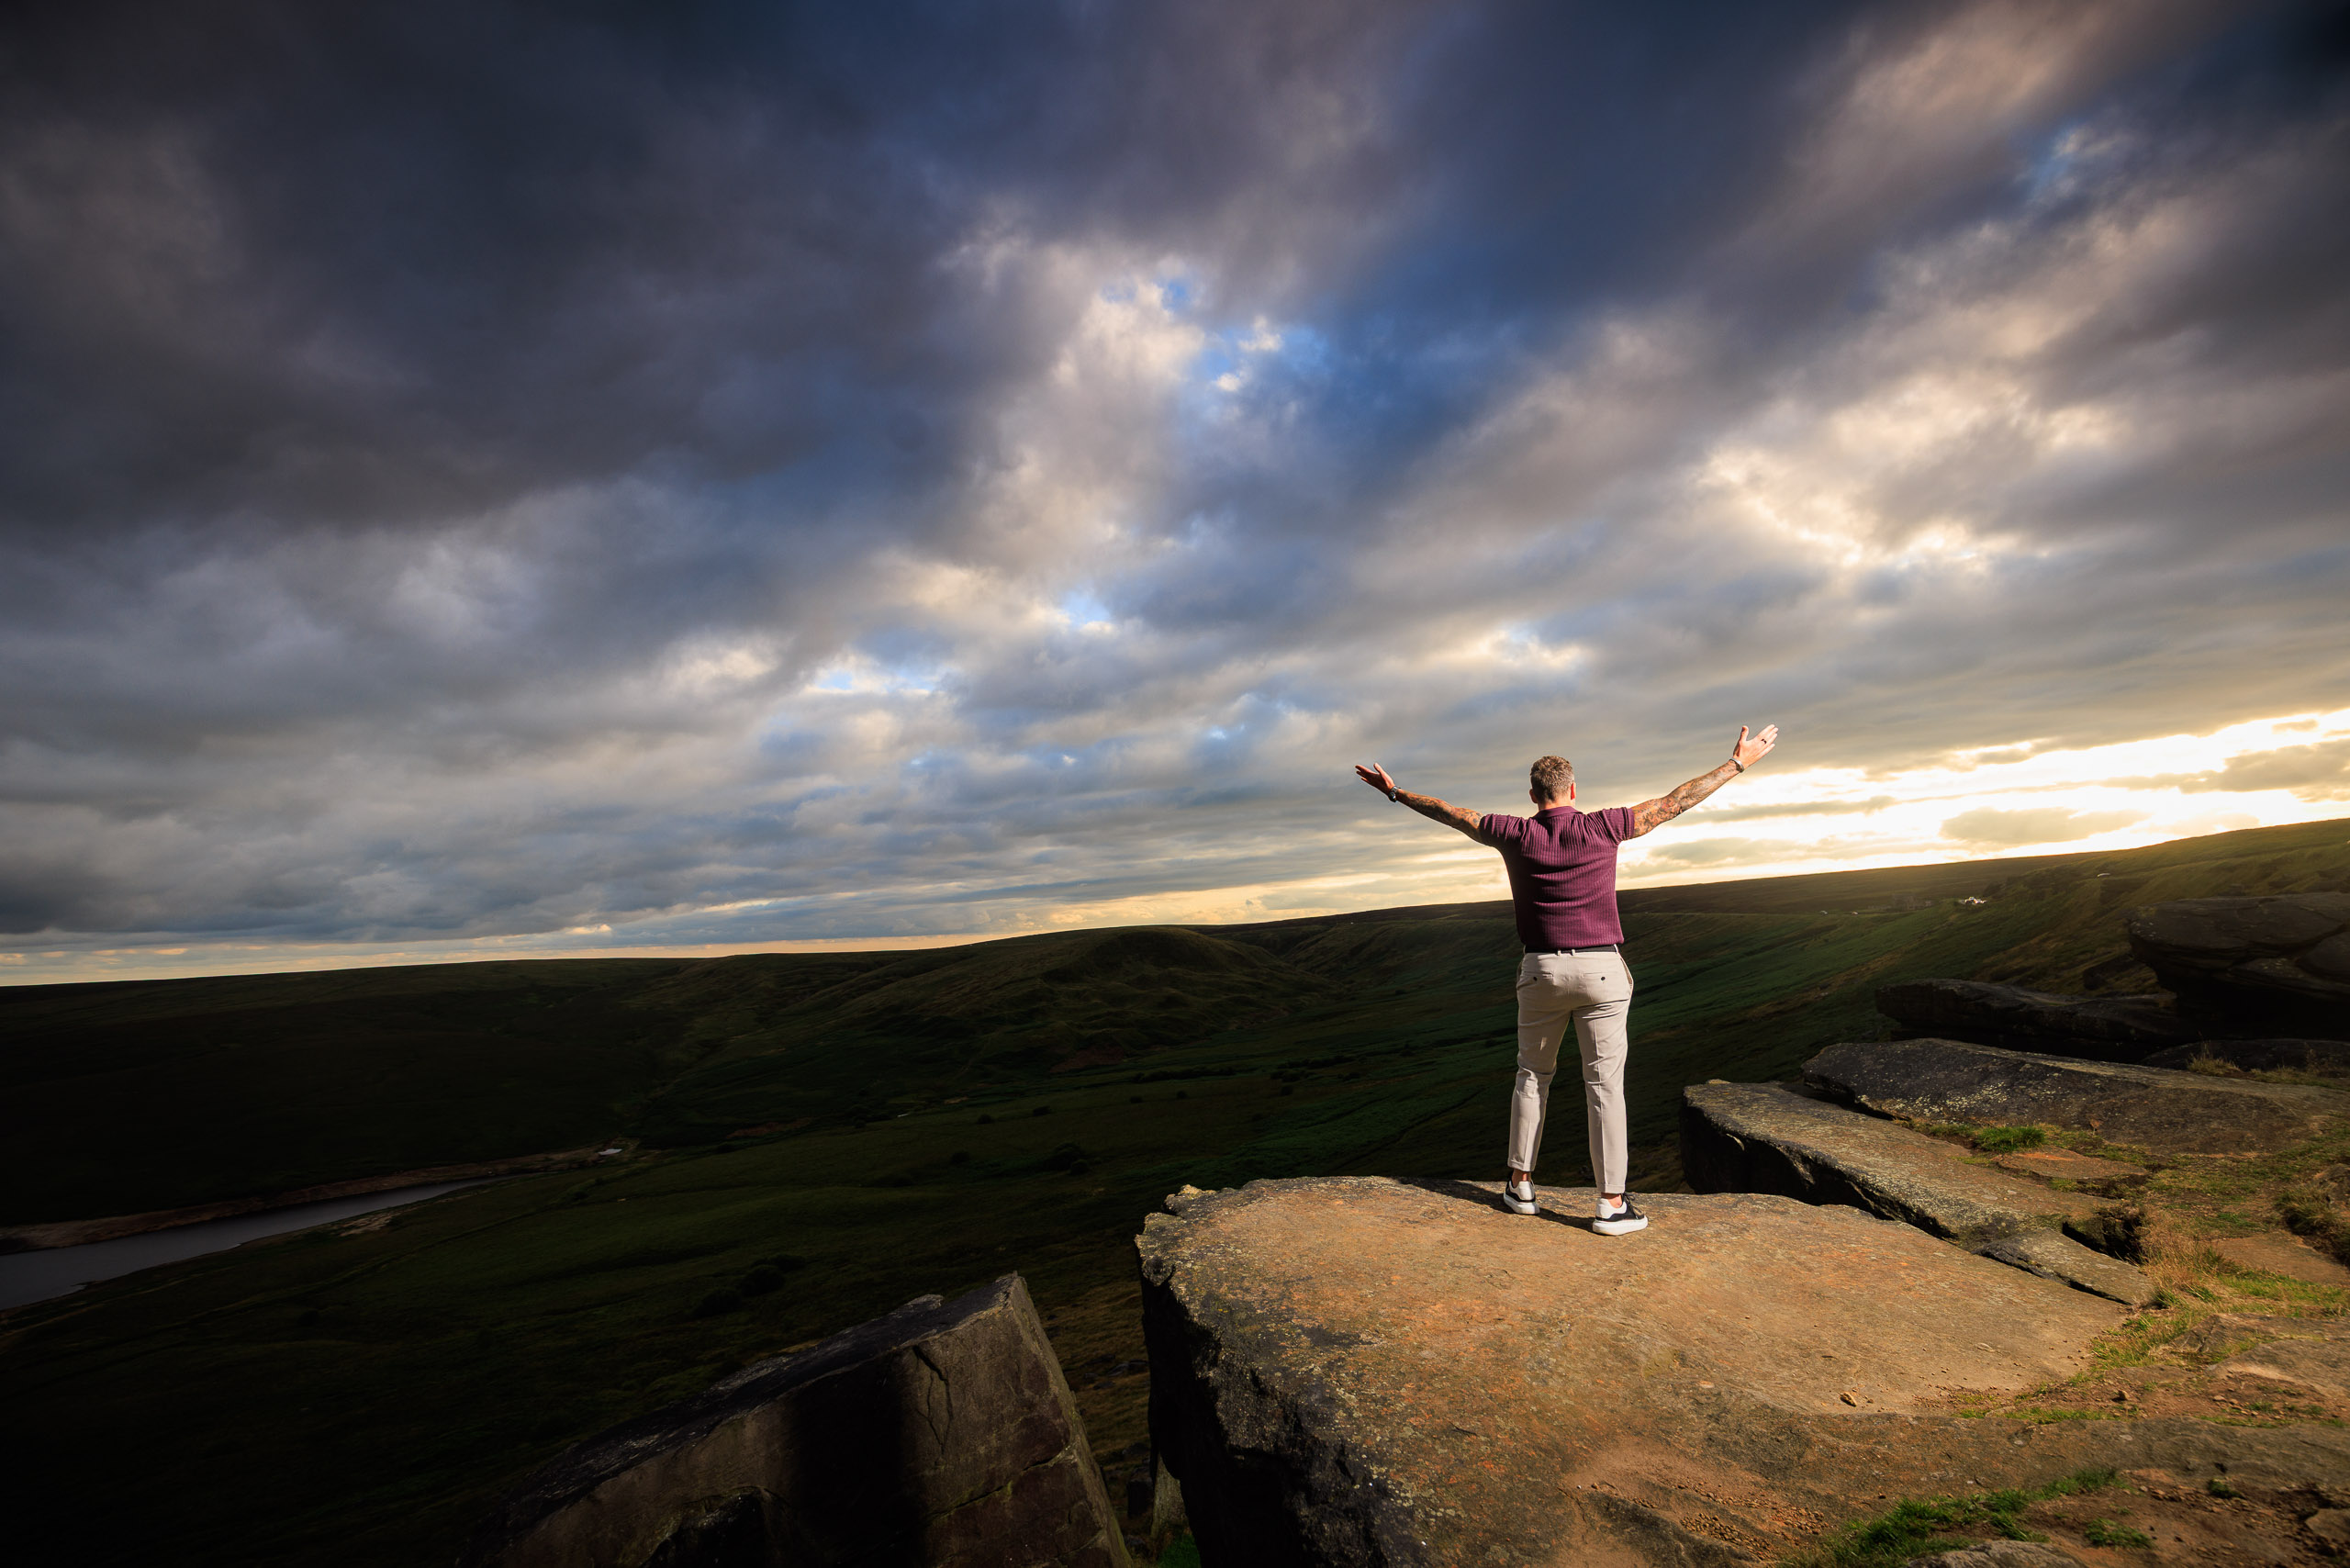
Yes — because photography is about seeing, not owning a £1,500 lump of metal.
People get this weird idea that “real photographers” throw their phones in the canal and only shoot with twelve-grand lenses. Absolute nonsense. Half the work I do when I’m out practising — the seeing, the judging, the “does that composition actually work?” stuff — I’m doing on my mobile phone. When I say the best camera is the one in your hand, I genuinely mean it. I’ve lost count of how many photos I’ve taken on my phone that helped me improve long before I ever lifted an SLR.
What does it really mean to learn photography on your phone?
You learn photography by practising composition, judgement and timing — all of which your smartphone handles beautifully.
A selfie is fun. A record shot for LinkedIn is handy. But when I’m actually learning photography, I’m doing something different: I’m thinking about focal points, spacing, light, lead lines, how the human eye reads a scene… and your smartphone is perfectly good for that.
If you’re taking photos on your phone deliberately — not just tapping the button and praying — you’re already stepping into proper photography. That’s the whole joy of smartphone photography: you can practise anywhere, without lugging a bag of gear.
And because every smartphone camera is always in your pocket, you can practise every single day. That’s how you get better photos — not by buying shiny toys, but by actually shooting.
Is a modern smartphone camera really good enough to learn and take better photos with?
Yes — because modern smartphones now have multiple lenses, great image quality, and the tools that actually matter for learning.
Your smartphone camera today is basically the starter kit I wish I’d had 20 years ago. You’ve usually got:
- Ultra-wide lens (UW) — around 13–15mm equivalent
- Standard lens — roughly 24–35mm equivalent
- Telephoto lens — sometimes 2x, 3x, 5x zoom, roughly 70–250mm equivalent depending on the phone
So instead of hauling a bag full of glass around Leeds, I just use my phone. I’ve got the same creative choices: wide, normal, long. That’s all photography really is — sticking the right lens on for the story you’re trying to tell.
And before you ask: no, you don’t need to “choose the best smartphone” or go hunting for “the best smartphone for photography”. Use the one you already have. If you’re still enjoying the process in a month, then you can look at gear.
Gear is dessert. Vision is the main course.
How do you use your phone’s lenses like a bag full of glass?
By treating each lens like a tool with a job — just like I do with my pro kit.
Here’s how I use each one:
How should you use the ultra-wide lens for architecture, cities, and drama?

Perfect for places like Leeds Town Hall or The Shard. If you stand close and tilt up, the whole building suddenly looks like it’s about to fall on your head. Ultra-wide exaggerates space — brilliant for street photography or city shots.
When should you use the standard lens for everyday storytelling?
This is the one that most closely matches how we see. Great for:
- group shots
- general walking-around photography
- “better smartphone photography” practice
- landscapes
- anything where you just want a natural feeling
Why is the telephoto lens so useful for portraits and subject isolation?
This is where mobile photography suddenly feels like big-camera photography.
Walk back 10–20 metres, switch to your long lens, and aim at a friend’s face. Suddenly the background melts away. Is it true depth of field? Not really — smartphones cheat a bit — but visually it works. And visually is all that matters.
Never rely on digital zoom. That’s just cropping, and your image quality will cry.
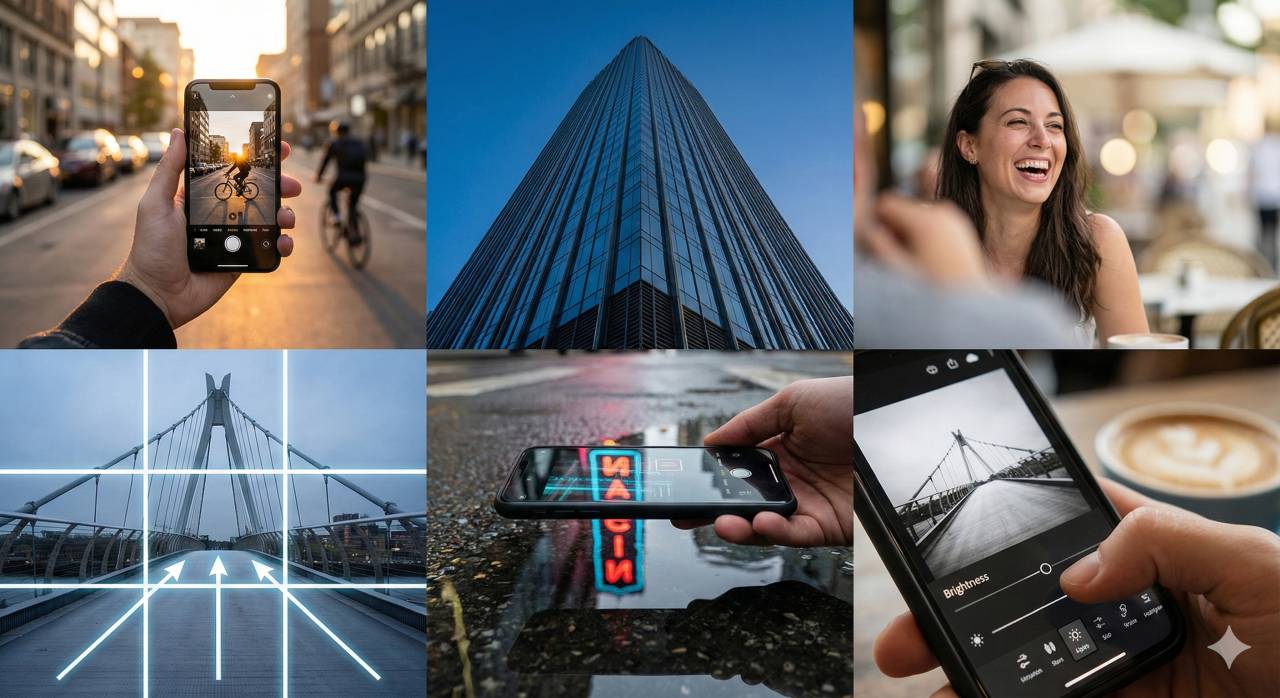
How can simple composition tricks make your smartphone photos instantly better?
By using the grid, rule of thirds, focal points and lead lines — the same tools I use on paid jobs.
First thing I do on any phone camera app?
Grid on. Always.
The grid gives you:
- 2 horizontal lines
- 2 vertical lines
- 4 power-points where they cross
This is the backbone of composition. Let me show you how I use it.
How does the rule of thirds simplify landscape photography?
Imagine you’re stood in a field with a tree and some cows.
I’ll put the horizon on the bottom line if the sky looks gorgeous.
I’ll put it on the top line if the sky is boring.
Then the tree — the focal point — goes on one of the vertical lines.
That alone turns “nice snap” into “oh that’s rather nice”.
What are lead lines, and why do they work so well on a phone camera?
Lead lines are anything with direction:
- hedges
- fences
- pavements
- bridges
- roads
- riverbanks
If you stand so a line comes from a corner of your frame towards your subject, the viewer’s eye naturally follows it. It’s one of the easiest ways to take better photos with your phone.
How would you compose a real smartphone photo of Leeds Town Hall?
If I’m photographing the Town Hall:
- Horizon on bottom line
- Tower on left or right vertical
- Clock on the top intersection point
- And I wait a moment so the buses clear out of the foreground
This is the stuff I’d do on a big camera. I just happen to be using my phone.
What small techniques actually elevate your phone photography?
Reflections, angles, distance changes, and using the long lens like a scalpel.
Let me give you a few of my favourite smartphone photography tips:
How can reflections instantly improve a smartphone image?
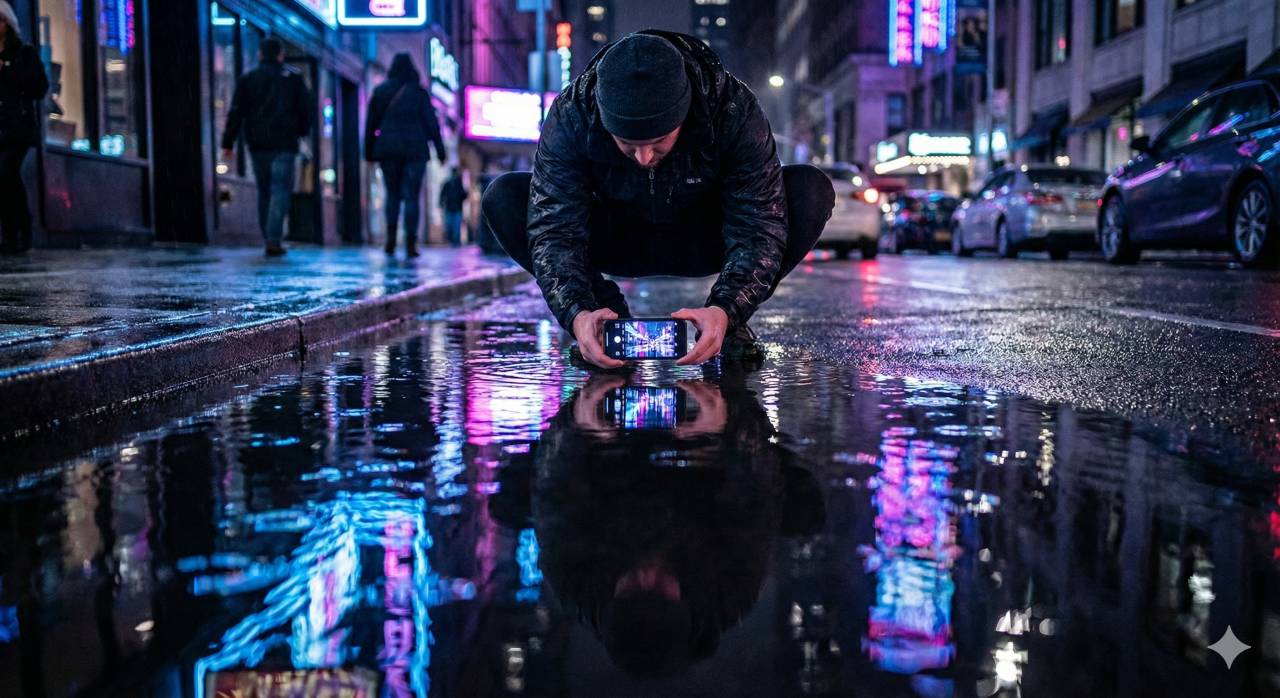
If there’s a puddle:
I crouch down, drop the phone to within a few centimetres of the water, and suddenly I’ve got a mirror. Buildings, people, skylines — all doubled.
No puddle?
Use a window. Put the lens right up to the glass. Magic.
Why does changing your distance matter more than shuffling left and right?
Most beginners shuffle left and right. But if you walk closer or further, the whole photo changes:
- closer = wider-feeling
- further = flatter, calmer, cleaner
How do you make better portraits with a smartphone telephoto lens?
Long lens portraits
Walk back 10m, zoom to the telephoto, tap their eye to focus, stick their face on a power-point. Done. Better portrait instantly.
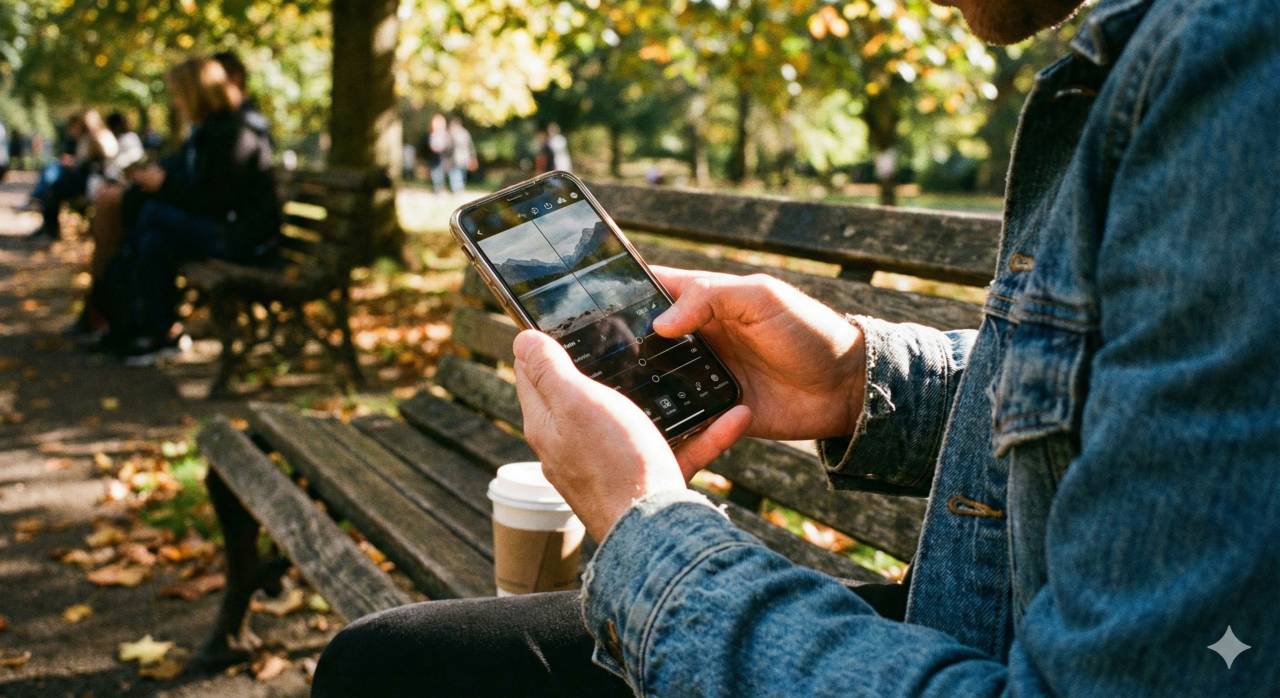
How do you use a photo editing app to actually learn photography rather than just add filters?
By practising control — not filters.
Instagram filters are fun, but they teach you nothing.
If you want to actually improve your photography skills, use a proper photo editing app like Snapseed or Adobe Lightroom Mobile. Here’s what I do:
Which global adjustments should you learn first?
- Brightness — overall light
- Contrast — punch and depth
- Saturation — how colourful the photo is
- White balance — warm vs cool
- Sharpening — fine detail
- Clarity — texture in the larger shapes
- High dynamic range tweaks — controlling bright skies and deep shadows
How do selective adjustments teach you to see light more precisely?
This is where you level up.
Tap a subject (say, a bird on a stick). You get a little circle.
Inside the circle you can brighten, increase contrast, sharpen, cool, warm — whatever.
Outside? Stays untouched.
Suddenly you’re sculpting a photograph, not just editing one.
This is where you really learn how light works.
How can you use a smartphone for photography to get better results?
Using your smartphone for photography starts with understanding the nitty gritty of smartphone photography: steady your phone, tap to focus, control exposure with built-in sliders, and avoid digital zoom when possible. Use apps like Adobe Lightroom to shoot in RAW where available and adjust white balance and shadows. Whether you’re shooting landscapes or portraits, practise composition rules and learn to use shutter controls to reduce blur when taking photos on a smartphone.
What lighting tips for better smartphone images should you know?
Lighting makes or breaks smartphone images. Place your subject in soft, directional light and avoid harsh midday sun. Use reflectors or a simple white card to fill shadows on portraits, and try backlighting for dramatic silhouettes. Built-in HDR and editing apps can help balance high-contrast scenes, but it’s best to control light physically when you can. For low light, steady your phone and use a longer shutter if your camera app allows to reduce noise and blur.
How should you choose the best smartphone for photography without getting lost in gear talk?
Choosing the best smartphone for photography comes down to sensor size, lens variety, and software processing. Look for phones with RAW support, optical image stabilisation, and strong low-light performance. Read sample comparisons and decide whether lens choice, editing apps, and ecosystem matter to you. But for learning photography, start with the phone you already own. Practise first, then upgrade with a reason.
What smartphone photography tips can a beginner use right away?
Start with composition: rule of thirds, leading lines, and clean framing. Keep the lens clean, use gridlines, and experiment with angles. Get low for dramatic foregrounds in landscape photography, or move closer to simplify a scene. Try a proper editing app and practise shooting in different light so you understand how your camera phone reacts. Above all, shoot often. Frequency beats shopping.
How do portrait mode and built-in phone camera features make photos look more professional?
Portrait mode simulates shallow depth of field by blurring the background, so it works best when your subject is separated from the background. Focus carefully on the eyes, use good light, and keep the frame simple. Combine portrait mode with a steady hold or tripod, then refine the image in editing. The trick is not the mode itself; it’s using it deliberately.
Can apps like Adobe Lightroom and Snapseed genuinely improve smartphone photos?
Yes — because good apps teach you control. Adobe Lightroom Mobile lets you edit RAW files where supported, recover highlights, adjust colour temperature, and make selective adjustments. Snapseed remains a straightforward way to learn tonal control and local edits. The value is not the app badge. It’s learning what brightness, contrast, colour, and local adjustments actually do to an image.
What are the real benefits of smartphone photography compared with DSLR or mirrorless cameras?
The benefits of smartphone photography are portability, frequency, immediate feedback, and the fact that you always have a camera with you. Smartphones are excellent for learning composition, timing, light, and editing habits before you invest in larger systems. For many situations, a phone camera plus some knowledge is more useful than expensive gear you leave at home.
Which accessories help you avoid blur and improve stability when shooting on a smartphone?
To avoid blur, look for a phone with optical image stabilisation and pair it with simple support when needed: a smartphone tripod, a small grip, or a remote shutter. Use the timer to prevent shake when pressing the button. Accessories can help, but they matter most after you’ve learned focus, exposure, lens choice, and how to hold the phone steadily.
When do you outgrow smartphone photography and actually need a proper camera?
When the phone stops letting you explore something you’re genuinely excited by.
Smartphones struggle with:
- very low light
- long exposures
- true depth of field
- proper flash work
- specialist lenses such as macro, wildlife, and astro
But why spend £1,500 discovering you don’t even enjoy that stuff?
Shoot for a month with your phone first — go on purposeful walks, try taking photos with your phone in different conditions, practise composition, editing, the lot. If you still love it after that, then you’re ready for a big camera.
Until then?
Your smartphone is the best camera in the world — because it’s the one you’ve got with you, every single day.
Related Posts

Are AI voiceovers a godsend, or hell?
How (not) To Clean Your Camera Sensor…?
McFade Photography Wins Solopreneur Award at BiY Inspired Awards 2014 | Celebrating Yorkshire’s Best Small Businesses
GOOGLE NIK EFEX Guide – 1 RAW Pre Sharpen
Liverpool Empire Theatre
Manchester Street Photography Workshop
Trust Your Photographer: Why Following Cues Leads to Better Headshots
The Madness of Share the Shoot…