Off Camera Flash Essentials
Off camera flash is a popular technique at the moment, taking speedlite flashes off the camera, onto light stands and using radio transmitters to trigger them. It’s getting easier and cheaper – with budget brands bringing flash to the masses
Technically, there and awful lot to understand to get fantastic results – so here are 5 things you absolutely have to understand
1 – Understand manual exposure

You need to understand how your camera works and “manual exposure.
A challenge in itself if you’re not used to metering. To control the brightness of the background and the flash-lit areas, Manual Exposure is the most effective way to work.
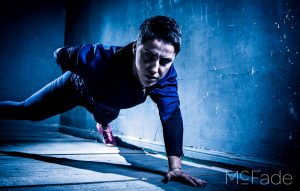
2 – Understand where to put the light stands
How near should they be, what angle should they point, should they be high or low… you can put them pretty much anywhere in the 3-dimensional space around your model… and they all have different effects!
3 – Understand flash power
You’ll need to put your flashes in Manual power output and give work out how much power they need – the power output is in fractions of “full power”, so you get 1/1, 1/2, 1/4, 1/8, 1/16 etc. usually down to 1/128
4 – Understand light colour

The white balance question – if you’re shooting in sunlight, it’s a different “ambient light” to that of moon light, or street lights, or fluorescent tubes…. It’s a question of “white balance”, and we have ways to change the colour of flash light to whatever we need. Or use a mix of white balances to creative effect.
5 – Understand Light “Quality”

The “shape” or “Quality” of light from your flash can be manipulated using accessories such as umbrellas, snoots, barn doors, beauty dishes, grids…. there’s a lot out there. Basically these help control the direction of light, how much it spreads, whether it’s a “soft” light (creating smooth edged shadows) or “hard” light (harsh “mid day” like shadows) – the use of these can become your signature look.
So those are the 5 areas we cover in our 1-2-1 Strobist Training – it is a lot to take in if you’re new to it, so 1-2-1 time is the most effective way to boost your skills and transform your photography.
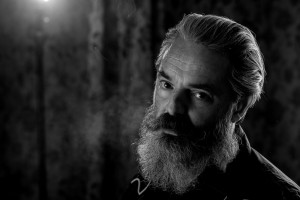
Example….
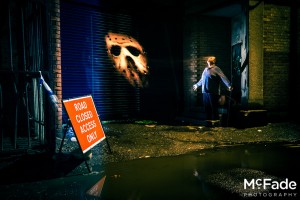
Here’s an example set-up from a recent 1-2-1 training session in Leeds.
- Exposure set for a dark space – low ambient light – so higher ISO, wide aperture etc.
- One light was “high to the left”, the other was “low to the right”
- Power was low as the scene was dark and didn’t need much power output
- Mixed light colour – Warm (CTO) to the left, cool to the right (CTB)
- Hard light all around – adds drama, the hard shadow under her nose shows this

Example 2
- Used a very wide aperture, F1.8, so needed ND filter to lessen the light flowing into the camera – need to keep the shutter speed to 1/200th to synch with the camera
- Simple single light at head height
- Power was extremely low as using F1.8 – 1/64th power.
- No colour added
- Soft light from a shoot-through umbrella

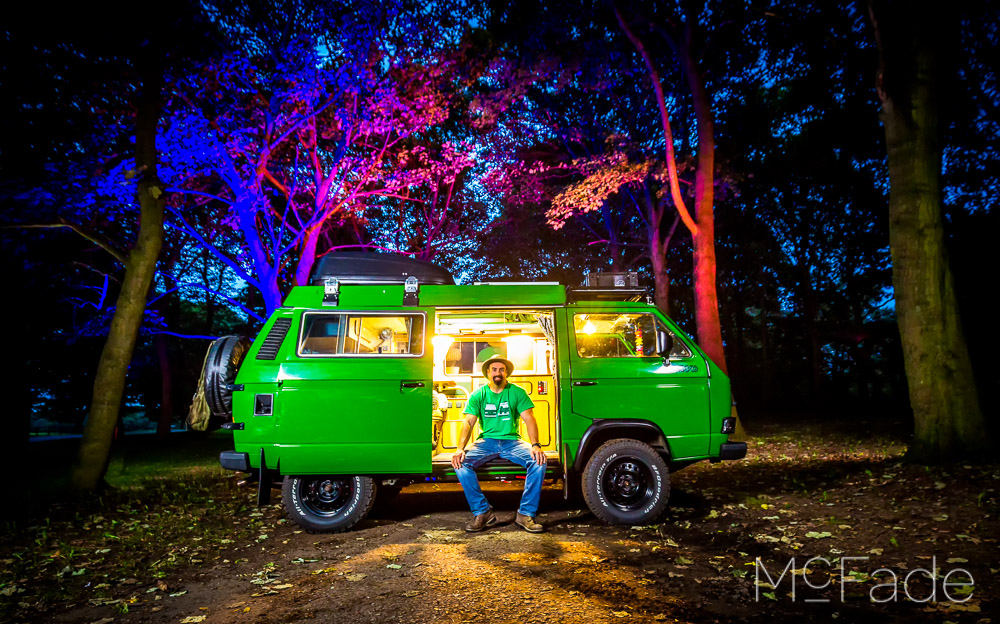
Related Posts

Austria Workshop – The Lake at Kufstein
The No. 1 Reason To Update Business Photos NOW!
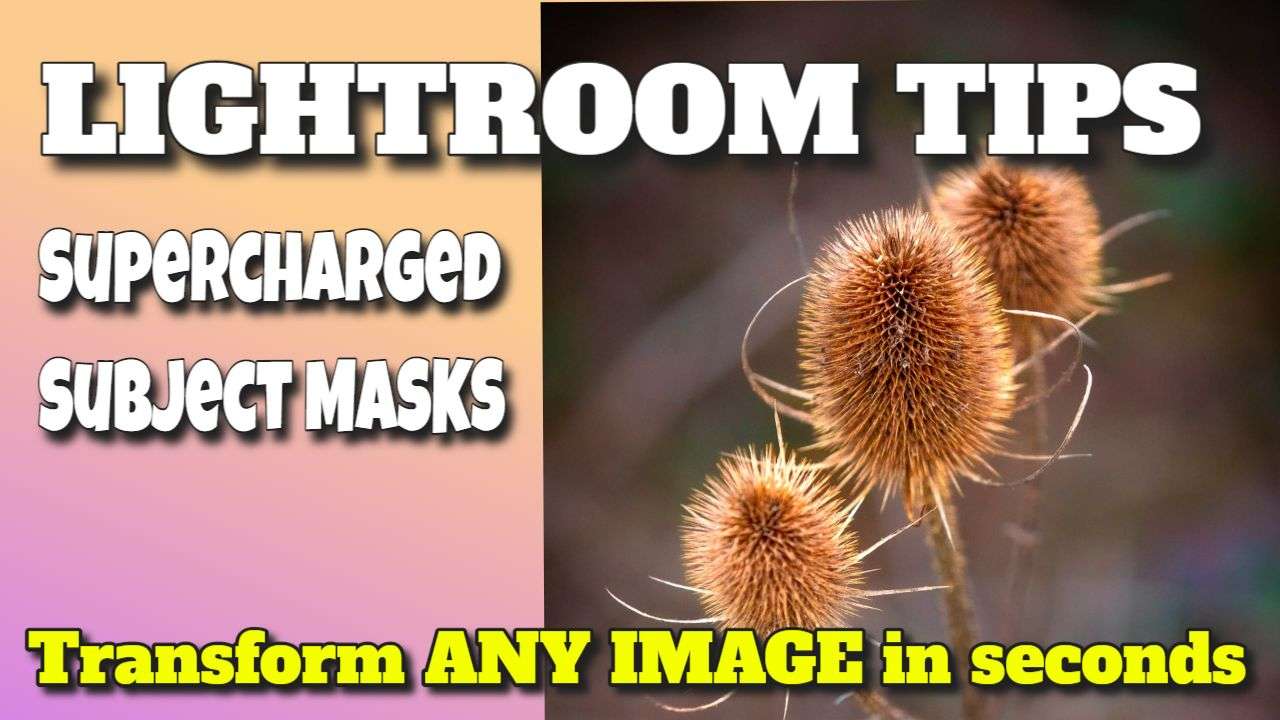
LIGHTROOM TIPS: Making subjects jump off the screen!
Why do Photography? 12 Potential for a Career or Side Income- Isaacs Accountants – Charcoal Background Shoot

Editing a Landscape in LIGHTROOM – Zell am See, Austria
Upgrading Your Brand with Business Portrait Photography
Get Me to the Shoot On Time!