
A photography day from the Humber Bridge through Hornsea to Thornwick Bay gives you three very different subjects, and returning to familiar places gives you a chance to photograph them differently.
Quick answer: My September trip started with the structure and shapes of the Humber Bridge, moved on to Hornsea's groynes and beach details, and finished with the chalk cliffs at Thornwick Bay. I used long exposures for much of the day, changed lenses and viewpoints, and saved the coast for the evening light. The useful lesson is to give yourself variety without rushing, and leave room to try something new at a place you already know.
Why do I keep going back to the Humber Bridge?
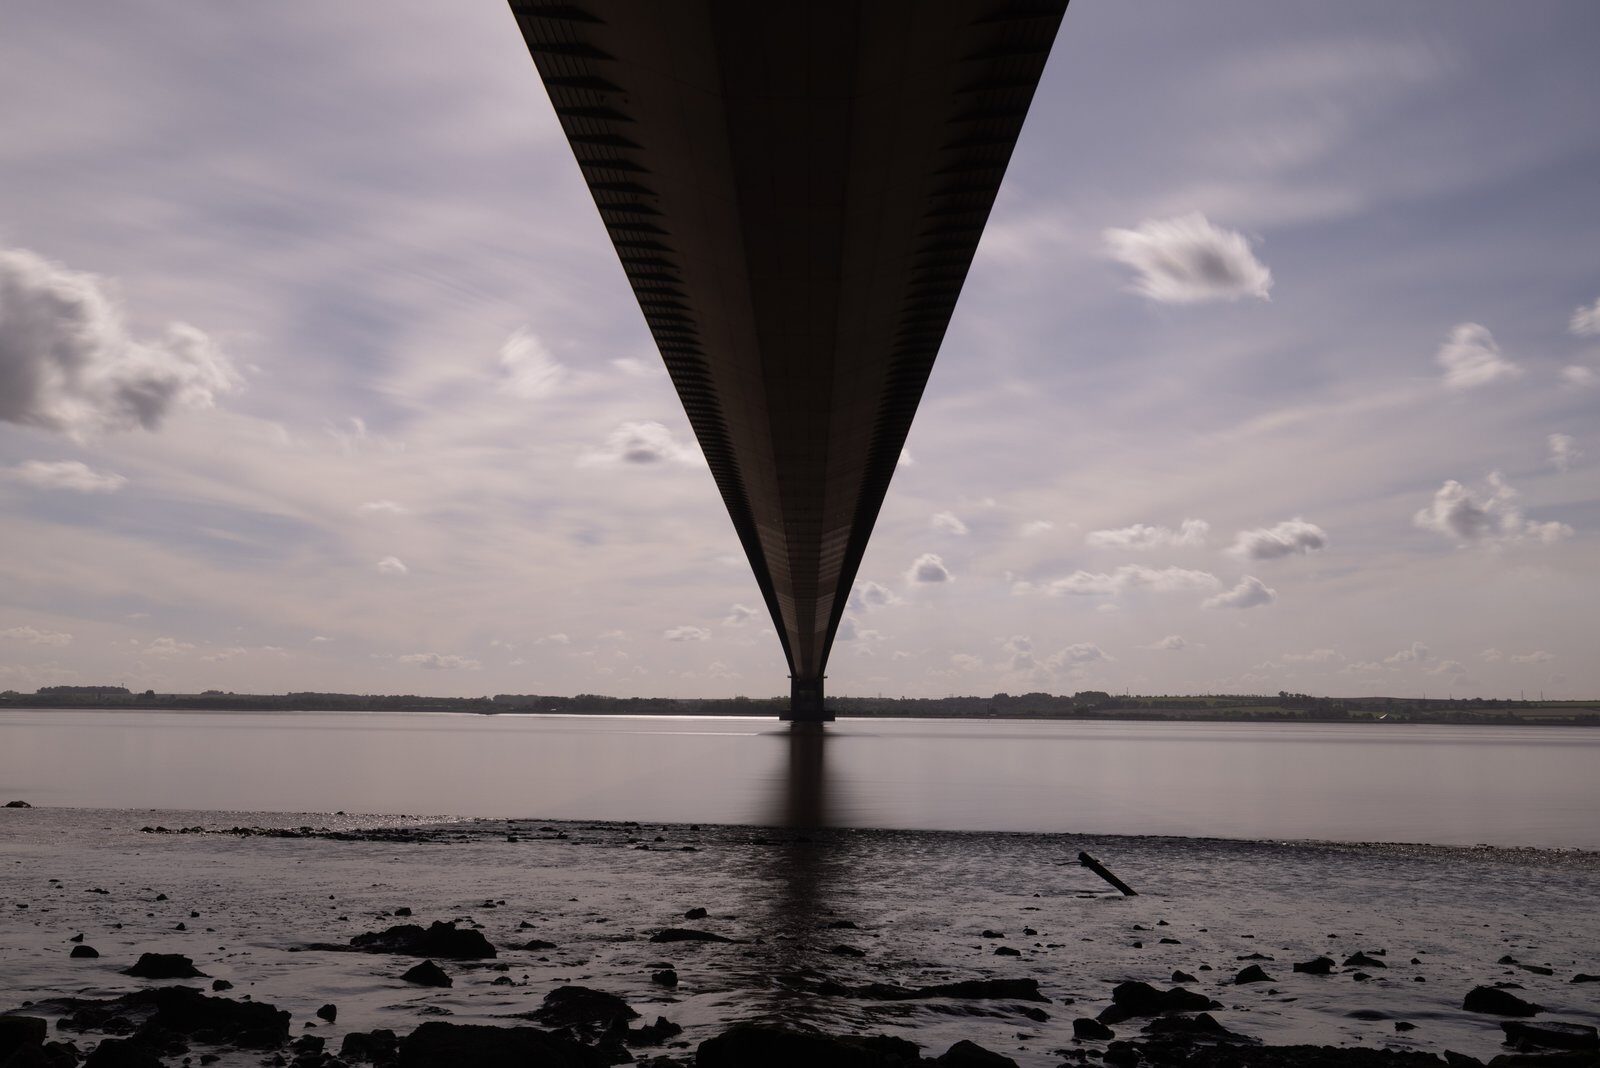
I don't remember the first time I photographed the Humber Bridge. I do remember seeing a photograph by Keith Henson on ePhotozine, taken from directly underneath it. The deck made this enormous, elongated triangle, with the muddy river in the foreground and a dramatic sky above. I thought it looked brilliant.
That was what made me drive over to Hessle for a look. I've been back many times since.
You can see the height and sweep of the bridge from all sorts of places. The view directly beneath the deck is different. You have to stop and look for it. Once you do, something you might normally drive straight over becomes a completely different photographic subject.
I've also used the bridge as a meeting point for my Flamborough Head workshop. It gives us something spectacular made by people before we go on to something spectacular made by nature. On this September revisit, just after my birthday, I wanted to see what else I could get out of it.
How did changing lenses change the bridge photographs?
Firstly, I used the 16–35mm lens with strong neutral density filters. An ND filter cuts down the light reaching the camera, so you can leave the shutter open for longer. In bright sunshine, I was using the stronger filter for much of this work to get the exposure time I wanted.
The bridge stays put while the water moves. Give the water enough time and its surface becomes much smoother, which lets the structure stand out.
Then I put on the 11mm fisheye. That was good fun. It's such a wide view that you can nearly get your toes at the bottom and the bridge above your head in the same photograph. It makes you think about what you're including in the frame.
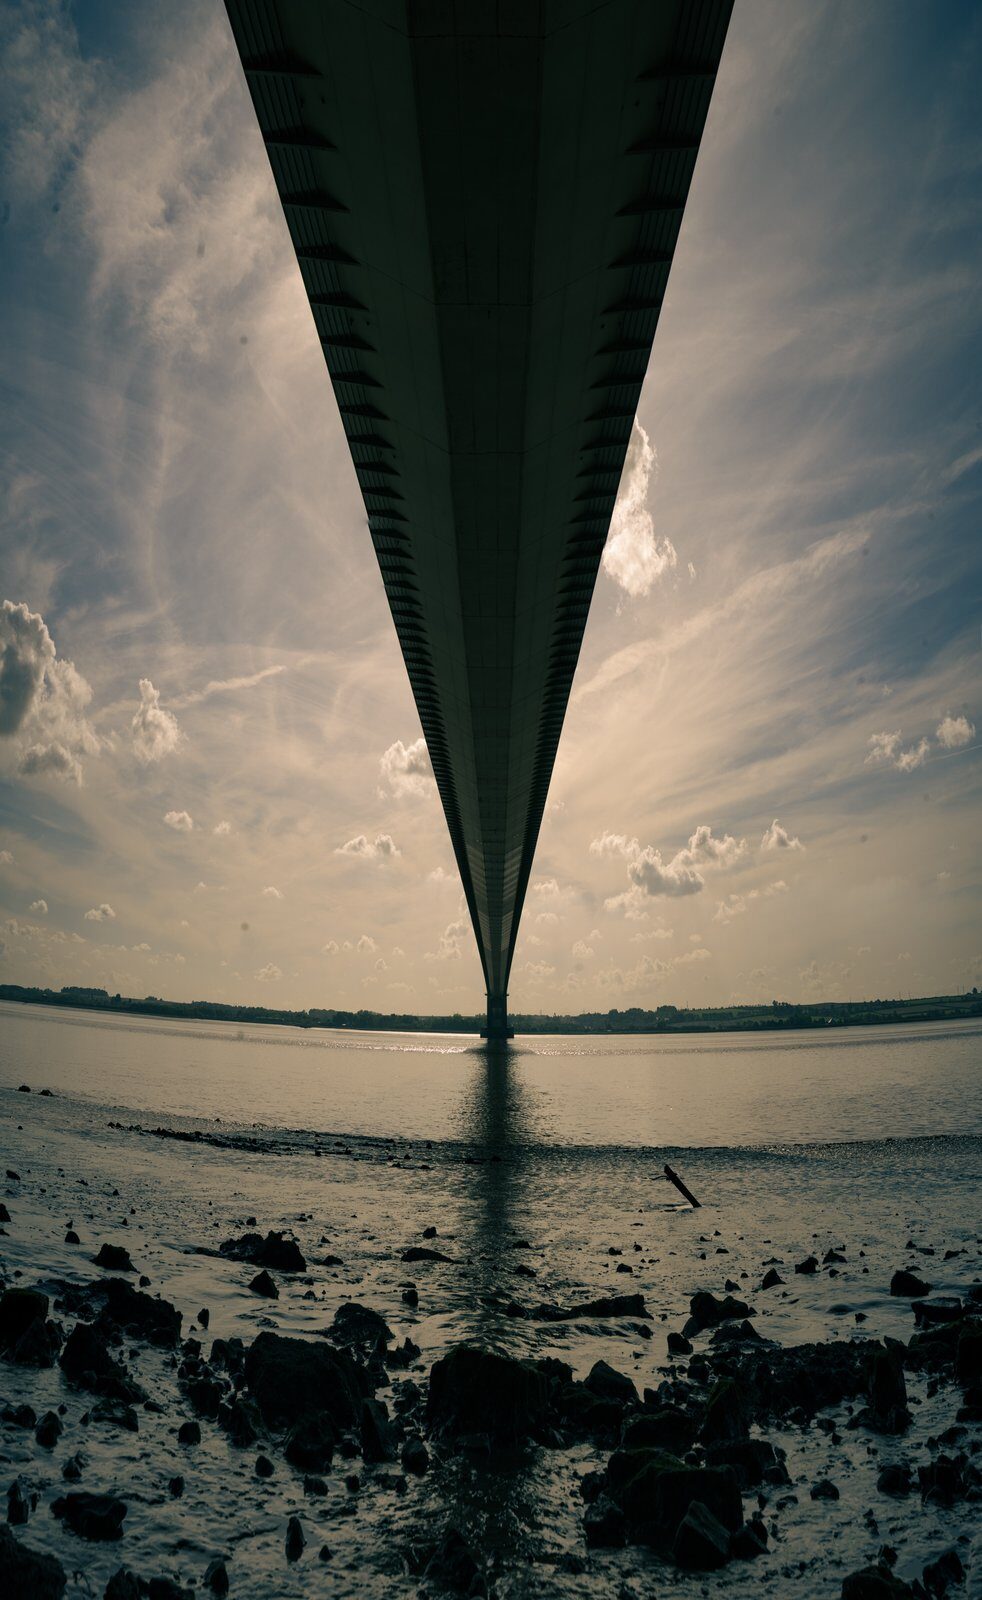
I also took an anamorphic lens. This squeezes the scene horizontally when you photograph it; you stretch it back out when processing the image. I tried it at the bridge and made a stitched panorama, working from the foreground up towards the deck above me.
Finally, the 70–200mm gave me a different way of looking. I could pick out more distant parts of the structure rather than trying to fit everything in. Same bridge, different emphasis.
Once I'd worked through the views underneath, I moved to one side for diagonal compositions. Some of my favourite frames include the steps and handrail. The handrail leads in from the bottom right, and the bridge comes across from the top right. Those two sets of lines give the eye something to follow.
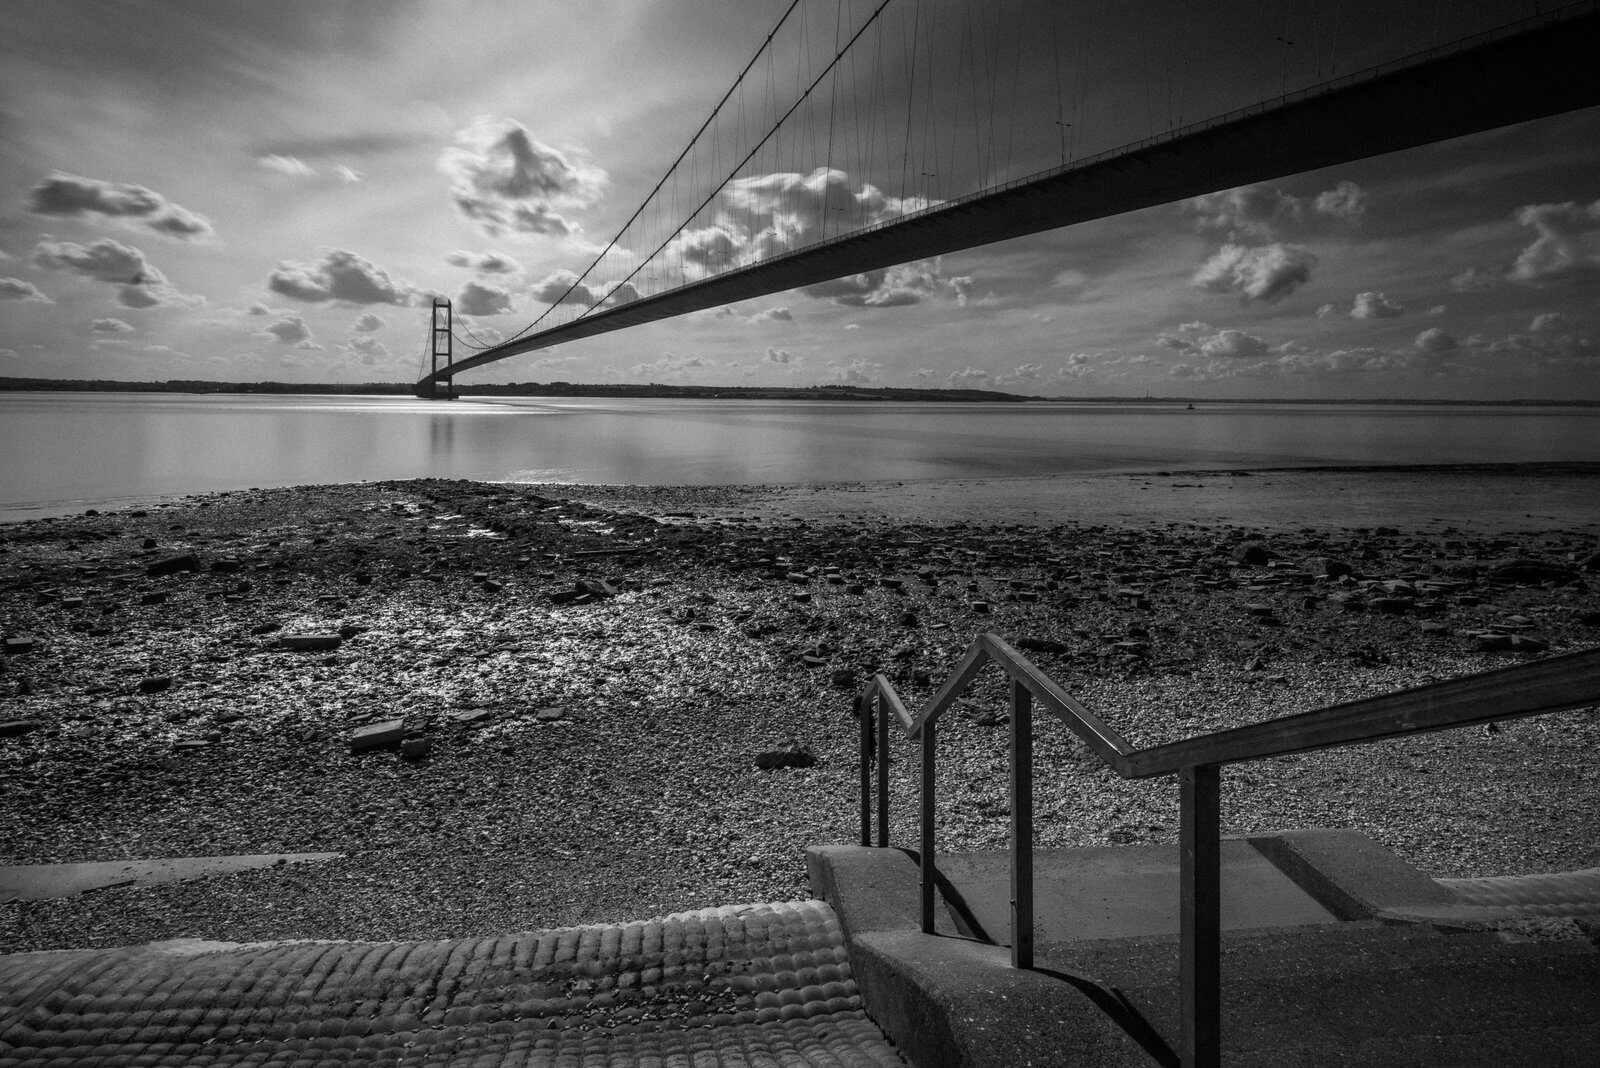
The point isn't that you need a bag full of unusual lenses. It's that a familiar subject still has plenty to offer when you change how you look at it. Moving a few steps, turning the camera or choosing a tighter view can be enough.
What happened when I tried long exposures at Hornsea?
Hornsea was my second stop. I wanted something quieter after the bridge, and the groynes gave me plenty of shapes to work with. These are the structures running out across the beach, helping to hold the sand in place.
I started with the wide lens and an ND filter. Then I discovered that the sand under my tripod wasn't quite as solid as it looked.
During a 30-second exposure, the tripod was sinking. Not by much, but it doesn't have to move far to spoil a photograph. The water is meant to look soft. The wood and barnacles aren't.
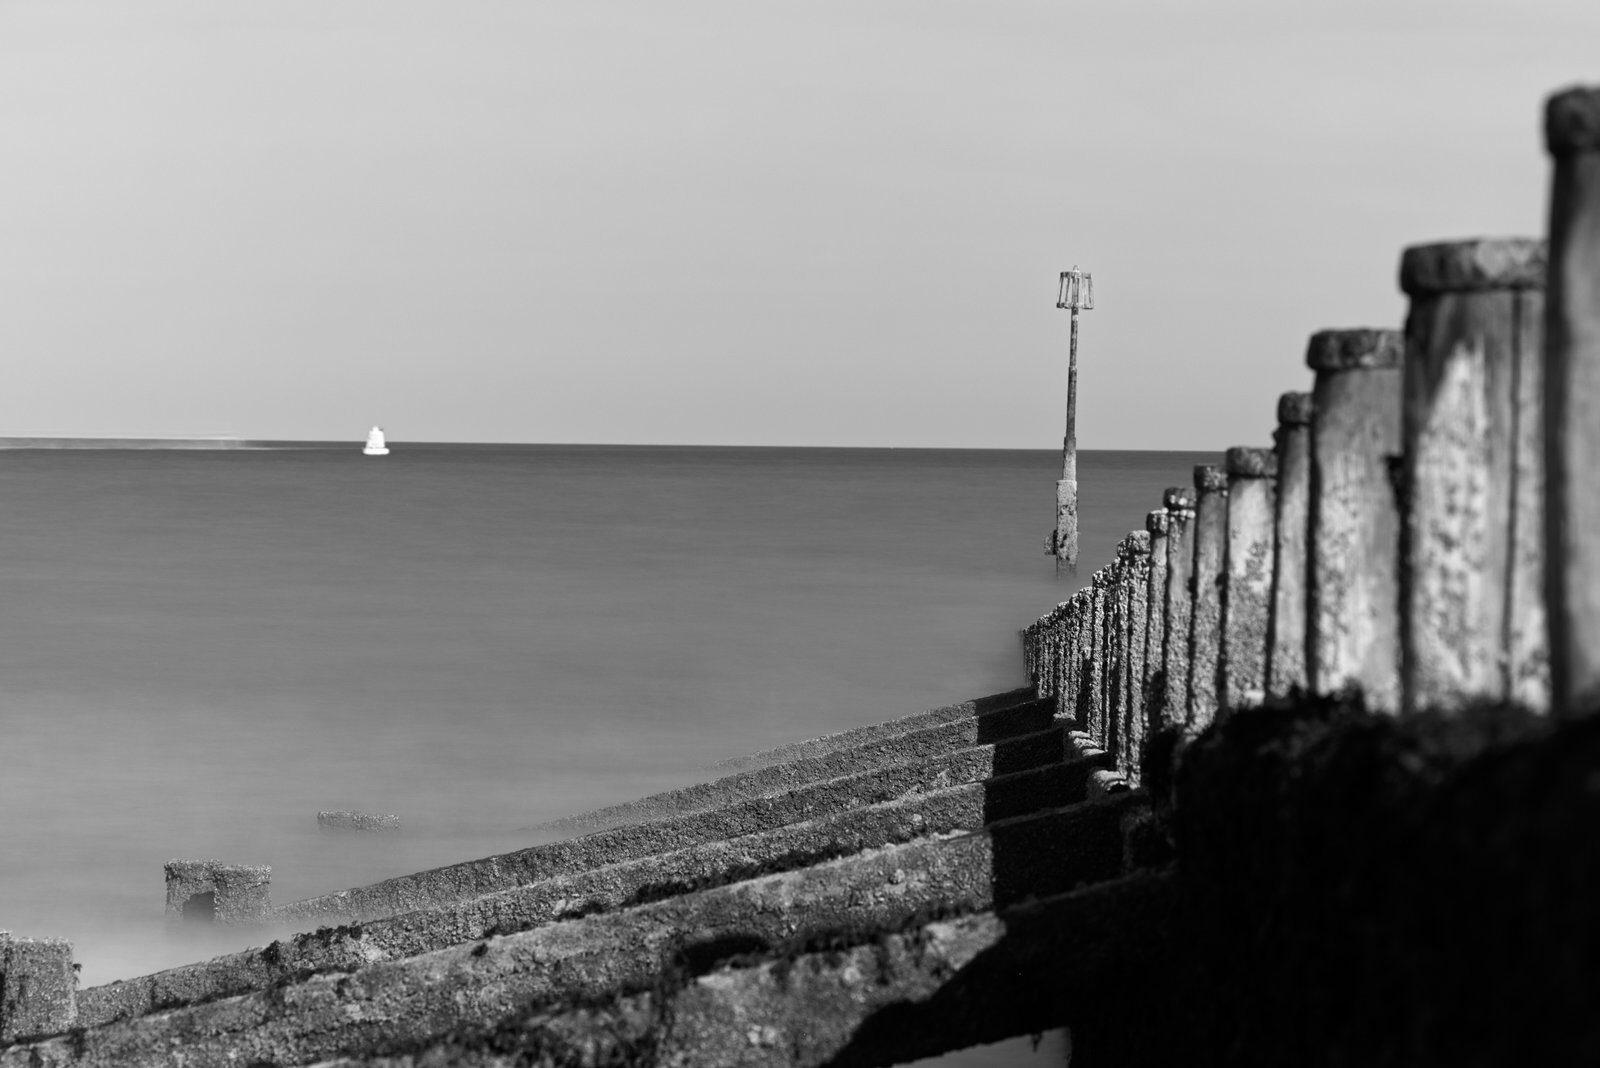
I kept moving until I found firmer sand where the tripod stayed put. That's a useful thing to remember if your long exposures look a bit soft: check what the tripod is standing on before blaming the camera or lens.
The 70–200mm helped here too. I could stand further back on the firmer sand and frame the more distant groynes. I tried looking along them, then across them, rather than making every photograph from the same position.
For much of the Hornsea work, I was shooting at ISO 100 with a 30-second exposure. The aperture varied; from memory, around f/7.1 for some of those frames. These are the settings I used that day, rather than a recipe that will fit every visit.
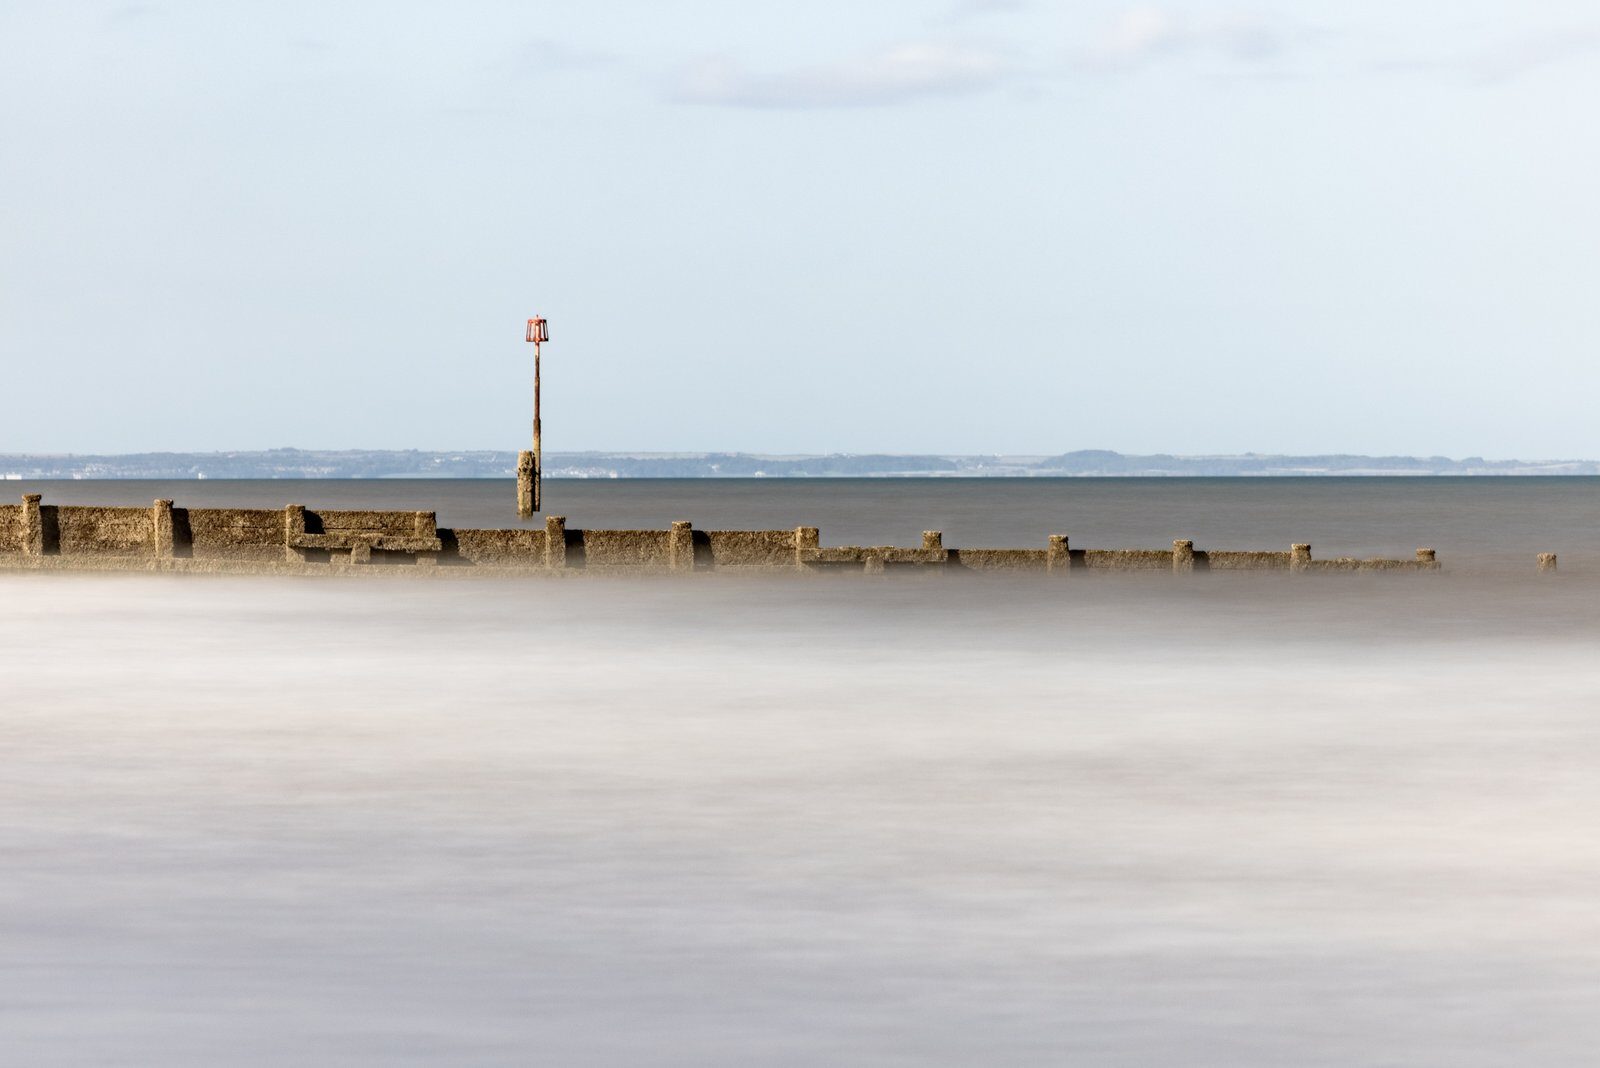
It was a bright day, so I wasn't going to get the most dramatic sky in the world. That was fine. A stop like this is a chance to play with shapes, space and the effect of the water.
On the way back to the car, I took the filter off and photographed some pebbles. A wave washing around a stone can leave a lovely pattern of bubbles. You can spend ages looking at the big view and nearly walk past these little details.

If you'd like more detail on the technique, I've written a separate guide to long exposure photography.
Read my long exposure photography guide
Why did I leave Thornwick Bay until the end of the day?
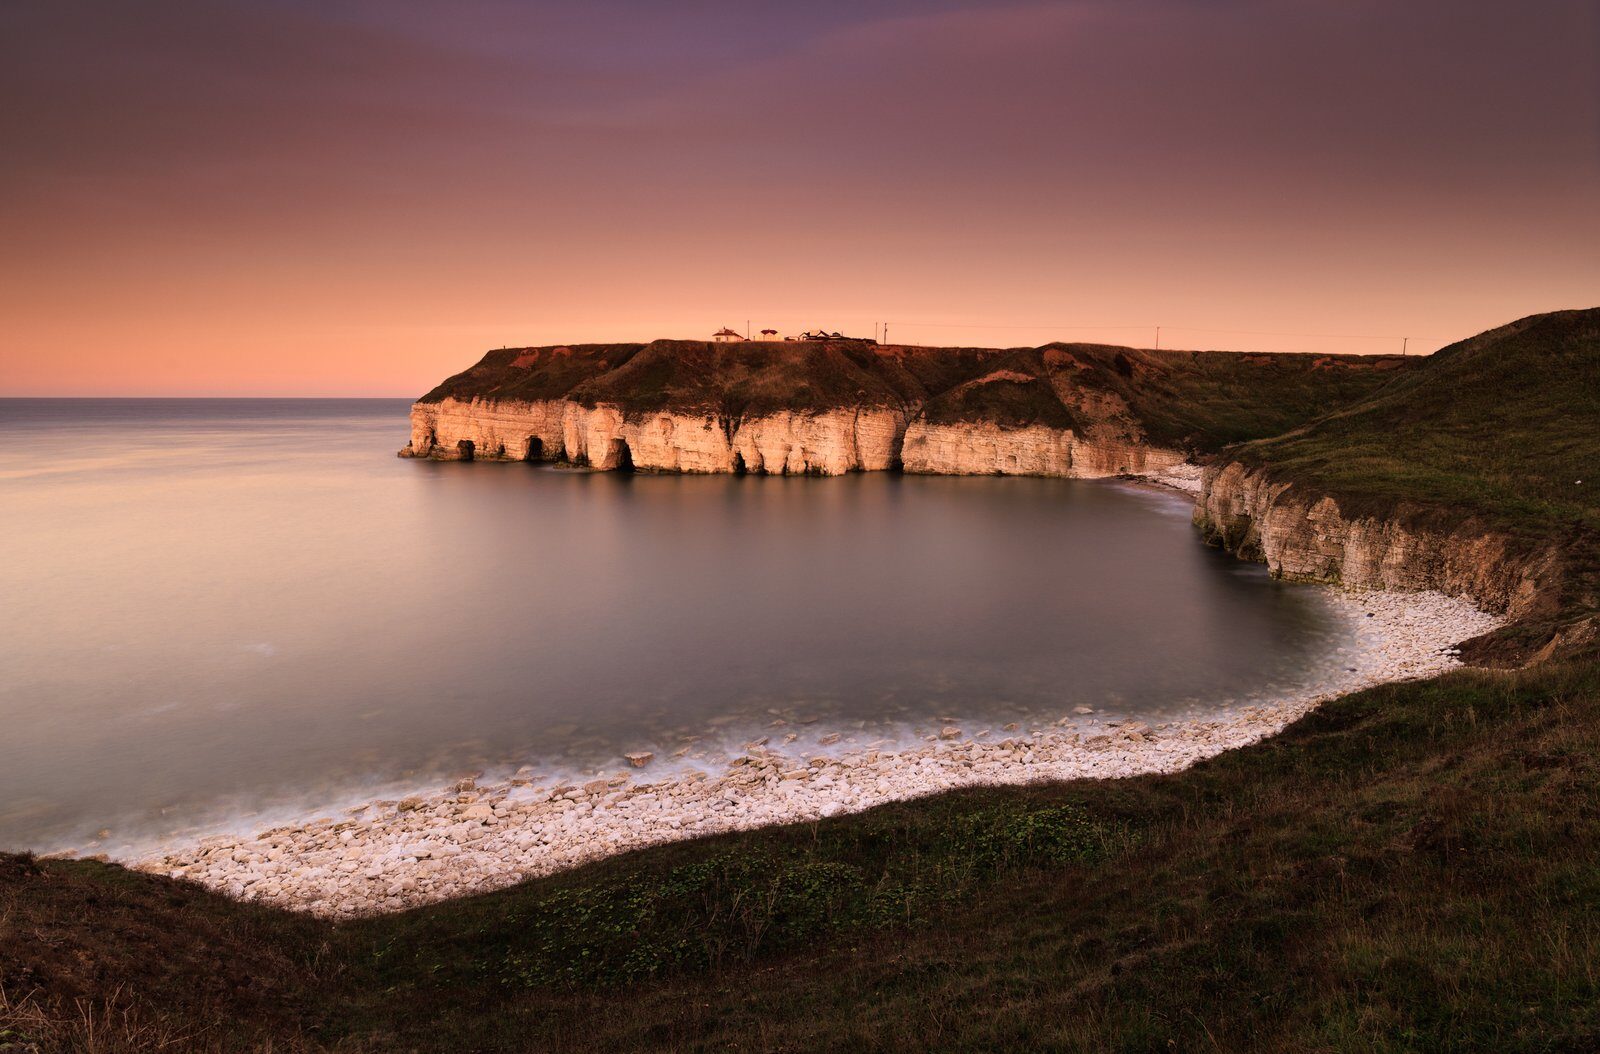
Thornwick Bay is one of my favourite parts of the Flamborough area. There are rock formations, views along the cliffs and plenty of opportunities to photograph water around the stones. It gives me a lot to work with in quite a small area.
I wanted to finish there because I thought the evening light might suit it. On this visit, some of the cliffs caught the low sun while the views towards Bempton were more shaded. Looking in different directions gave me very different photographs.
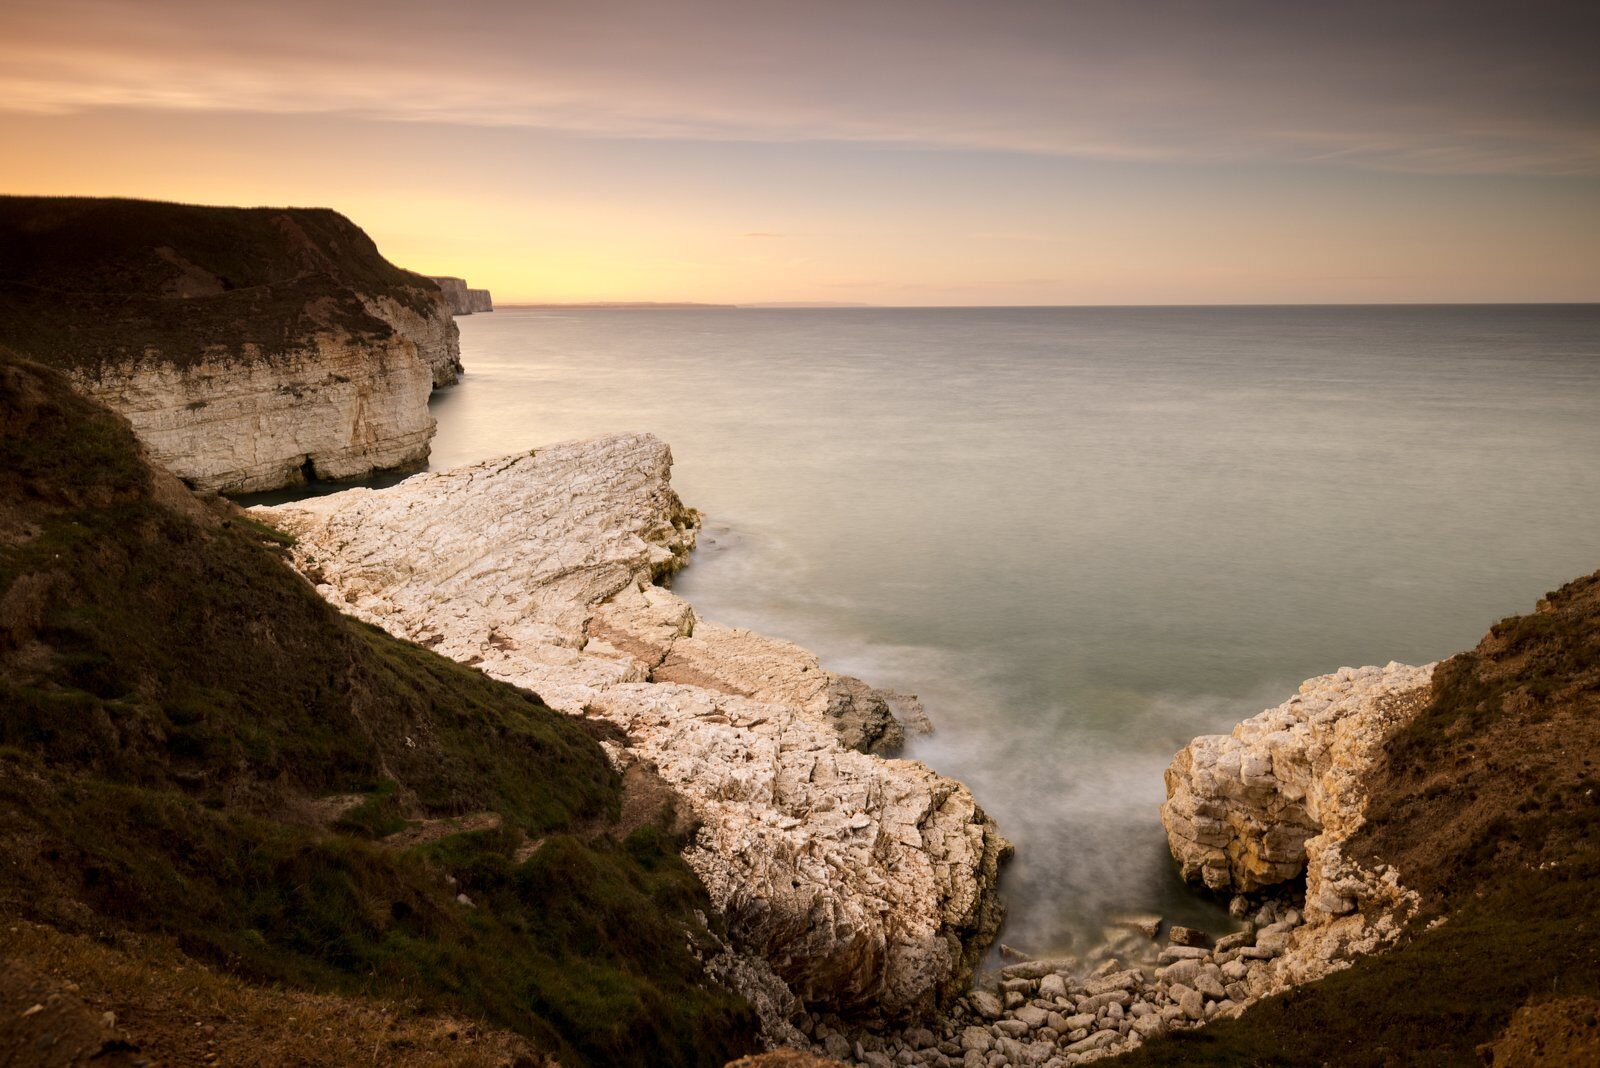
It was a quiet Monday afternoon, which helped. I could take my time with compositions rather than constantly waiting for somebody to move out of the frame.
Again, I used the 10-stop filter for the long exposures. I like the dreamy effect where the water meets the rocks. Moving clouds can soften too, although the result depends on what they're doing during the exposure.
I worked with the rocks as foreground in some frames, then looked back across the curving bay and its pebble beach. As the sun went down, the clouds picked up an orange glow. That was a bonus.
I kept ISO 100 and worked around 30-second exposures for this part of the trip. As it got darker, I opened the aperture, moving from settings such as f/16 or f/11 earlier on towards around f/5 for some of the later photographs. I also paid more attention to where I focused.
There's a difference between having visited a place and having finished photographing it. The light, tide and weather give you a different version each time.
For a look back at another coastal day, here's my Yorkshire Coast workshop photo diary from 2016.
See the Yorkshire Coast workshop photo diary
How would I plan another day like this?
I'd start with a few places that give me genuinely different subjects, rather than trying to collect as many stops as possible. For this trip, the bridge, Hornsea and Thornwick Bay worked well together.
My approach was:
• Start with the bridge for structure, scale and different viewpoints.
• Use Hornsea for groynes, simpler seascapes and beach details.
• Keep Thornwick Bay for the evening, when I hoped the light would suit the cliffs.
• Allow enough time at each stop to try a few ideas.
That last point matters. Three stops can make a varied day; racing through six can mean you've barely looked at any of them.
Think about where the light will reach your final location. A valley with steep sides may lose direct sunlight well before the sun actually sets. A coastal view may give you different options, but the weather still gets a say. This trip worked nicely; that doesn't mean every return visit will look like these photographs.
I've also put together a separate guide to five Yorkshire Coast photography locations if you're looking for other possibilities.
Explore five Yorkshire Coast photography locations
Is it worth photographing somewhere you've already been?
Absolutely. The light might be different. So might the tide, the weather or the number of people around.
And you've changed too. You might have different equipment, a different idea or a better understanding of what you want from a photograph. Sometimes you go back and notice something that was there all along.
By the end of this day, I'd made more than 200 photographs with the R5. I'd also taken the drone, but that's a story for another blog. The photographs here are from the camera part of the trip.
You don't have to find somewhere new every time you pick up the camera. Sometimes a place you already know is exactly where you should go next.
I hope you enjoy the photographs.
Frequently asked questions
Can you photograph the Humber Bridge, Hornsea and Thornwick Bay in one day?
That was my route on this September trip. It gave me bridge compositions, beach details and coastal views in one day. I'd leave time to work at each place rather than treat the route as a list of quick stops.
What did you use to smooth the water in these photographs?
I used strong ND filters to allow longer exposures. Much of my coastal work that day was at ISO 100 with 30-second exposures, with the aperture adjusted as the light changed.
Why might a tripod photograph still look blurred on a beach?
At Hornsea, my tripod was sinking slightly into the soft sand during the exposure. Moving to firmer sand solved that problem. A tripod can only keep the camera steady if the ground beneath it stays steady too.
Why return to a photography location you already know?
The place, conditions and photographer all change. A different tide, light, lens or approach can produce photographs you didn't make on an earlier visit.