Enhancing Workshop Photos with Lightroom: A Step-by-Step Guide
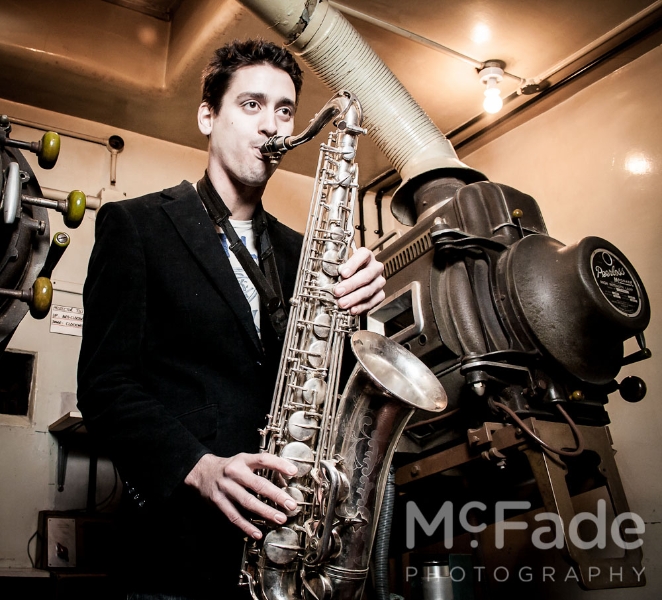
As part of our exploration into Lightroom 4, we have taken the opportunity to edit some of the photos from our students’ workshops. In this post, we’ll demonstrate how we transformed an image from a McFade Taster shoot featuring Sam and Chris from the brass section of the Sweet Soul Blues Brothers and other amazing bands.
Here’s a breakdown of the editing process:
-
Original Shot: We began with the unedited photo to assess its strengths and areas for improvement.
-
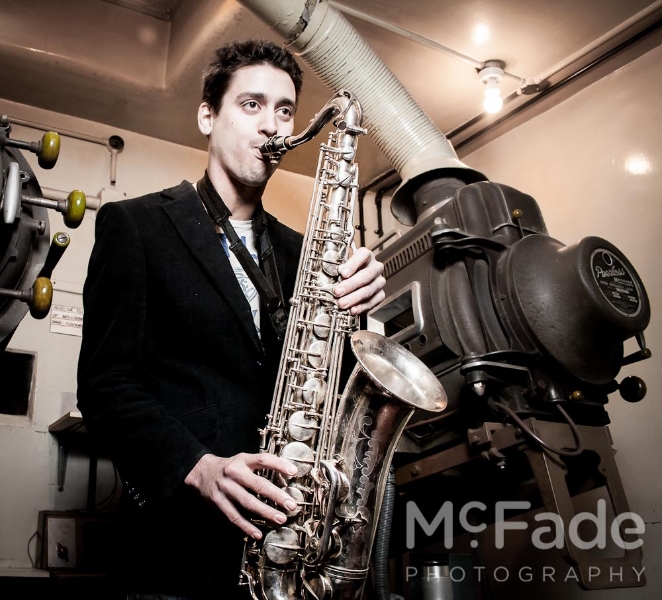
Tone Edits: We adjusted the overall tonal balance to bring out the subject while maintaining a natural look.
-
Presence Adjustments: Minor tweaks were made to enhance vibrancy and clarity, ensuring the image felt lively without appearing overly processed.
-
Curves: We made subtle adjustments with the curves tool to enhance contrast slightly, preserving the integrity of the original image.
-
Crop and Vignette: A slight crop was applied to focus on the subjects, accompanied by a mild vignette to draw attention to them.
-
Selective Changes: Using the adjustment brush, we made targeted edits to make the saxophone stand out, while toning down colors in the background for better separation.
-
Skin and Eyes Editing: We performed selective edits on skin tones and eyes to enhance the overall look—although it might be a step too far for some!
Check out the slideshow below for a visual walkthrough of each step in the editing process:


We hope this gives you insight into the capabilities of Lightroom and inspires you to explore your own editing techniques. Happy editing!
Related Posts

Claire’s Band Shoot…
5 Days in Austria – It’s Magical
Night Photography in the City
Hiring a Photographer : 7 things you’re REALLY buying (6)
Essential Tips for Stunning Firework Photography
So you want to be a pro photographer… what they don’t tell you
We Buy Any Car – New office interior
Where Should Photographers Invest Time Online?