Got a fair coming to town?
They’re brilliant to shoot at night – all those moving lights create amazing patterns; so much for the eye to see.
Here are 5 tips for making the most of your night there
1 Long exposures – so take a Tripod!
Every night photographer will use a tripod, so best to take it. You can capture so much more with a tripod – this ride was just 2 long stick spinning around – with a long exposure they traced out this circle.

2 Get in Close to Stationary Stuff
Kiddies rides get really quiet later on, so you can usually get close in – here’s a cool car taken with the 17mm lens. They’re always very colourful and great subjects – and most fairground attendants are happy to let you get close when it’s quiet. Don’t try it when it’s moving though!

3 Zoom Burst Heaven
When the rides stop moving, they can look a bit static and boring in your image… so we can introduce our own movement. Zoom Burst are pretty easy – you just set your exposure time to a few seconds, or even up to 30. Set the shot going. Then change the zoom on the lens as the shot is being taken… you can do all sorts with the zoom – pause it at various points in the zoom and see what happens.

4 Get something “static” in shot – add to the story
Moving stuff is fantastic, but doesn’t really tell us much about the place – so have a go at finding signs and interesting things to put in the shot. This reminded me of a Bon Jovi album my brother used to play all the time.
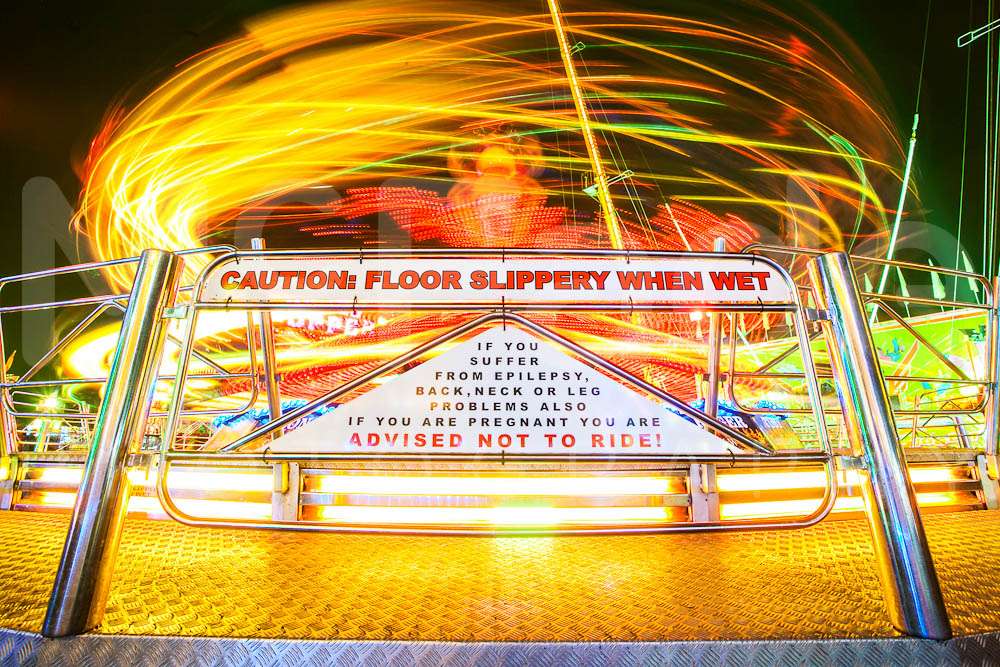
5 Shorter exposures often work best….
When I say short, I mean 2 seconds…. with this ride, the Scrambler, really long exposures became messy, lines everywhere and no really distinctive shapes.
The shorter look allows you to see one rotation of the ride – you can often see a geometrical pattern forming…