
Exposure Explained: Why Every Camera Setting Is Just Filling a Glass
The exposure triangle is the relationship between three camera settings — aperture, shutter speed and ISO — that together decide how bright or dark a photo comes out. Get your head around it once, properly, and every camera you ever pick up makes sense.
Quick answer: what is the exposure triangle?

Think of taking a photo as filling a glass with water. The “correct exposure” is just enough water to fill whatever glass you’ve got — no more, no less. There are only two things that decide how fast the glass fills: how wide you open the tap, and how long you leave it running. Photography works exactly the same way, except the “water” is light and the “glass” is your camera’s sensitivity to it:
- Aperture is how wide you open the tap
- Shutter speed is how long you leave the tap running
- ISO is the size of the glass you’re filling
Change any one of the three and you’ll need to adjust one of the others to keep the same exposure — that’s the whole “triangle” part. The rest of this post walks through each one properly, then gets into a real example: why pointing an expensive lens at the sun during an eclipse is riskier than most people think.
What is exposure in photography?
Exposure is simply the amount of light that reaches your camera’s sensor. Too much light and the photo washes out white. Too little and it comes out dark and murky. The right amount — whatever that happens to be for the scene in front of you — is a “correct exposure.”
With a glass of water, the correct amount is whatever fills the glass. A pint glass needs a pint. A half-pint glass needs half a pint. Neither is more “correct” than the other — they’re just different sizes doing the same job. Exposure works the same way: there’s no universal number, just the right amount of light for the sensor you’re filling.
How does aperture control light like a tap?

Aperture is the size of the opening in your lens that light passes through, and it’s measured in f-stops — f/2.8, f/5.6, f/11, and so on. A wide aperture (a low number like f/2.8) is like turning the tap on full: light gushes through fast. A narrow aperture (a high number like f/16) is like barely cracking the tap open: light trickles through slowly.
Confusingly, the numbers work backwards from what you’d expect — the smaller the f-number, the bigger the hole. Here’s the range you’ll come across, roughly cheapest and smallest to most expensive and widest:
| F-stop | Tap equivalent | Typical use |
|---|---|---|
| f/1.4 – f/2 | Tap fully open | Low light, blurred backgrounds |
| f/2.8 | Tap most of the way open | Widest setting on most zoom lenses |
| f/4 – f/5.6 | Moderate flow | General use, portraits |
| f/8 | Moderate-to-narrow flow | Good all-rounder, group shots |
| f/11 – f/16 | Tap barely open | Landscapes, everything sharp |
Each full stop down the scale lets in half as much light as the one before it — so f/4 lets in half as much light as f/2.8, and so on. That’s the “doubling and halving” pattern that runs through the whole exposure triangle.
How does shutter speed control light like leaving a tap running?

Shutter speed is how long your camera lets light hit the sensor for. It’s exactly the same idea as leaving a tap running: the aperture sets the flow rate, and the shutter speed sets how long that flow continues.
Most cameras range from around 1/8000th of a second — faster than a blink — right up to 30 seconds in a normal exposure mode. If you keep the aperture (the tap width) fixed and only change how long the shutter’s open, filling the glass takes proportionally longer or shorter, just like timing how long you leave a tap running to fill a pint glass.
How does ISO work like the size of the glass?

This is the one that trips people up, because ISO isn’t really controlling a flow of light — it’s changing how sensitive your sensor is to the light that arrives. But the glass analogy still holds up well: think of ISO as the size of the glass you’re filling.
A smaller glass fills faster with the same tap flow. A bigger glass takes longer. So if your camera is set to ISO 800 and takes eight seconds to get a correct exposure, doubling the ISO to 1600 is like halving the size of the glass — it’ll now take only four seconds with everything else unchanged. Halve the ISO instead, down to 400, and it’s like doubling the size of the glass — now it takes sixteen seconds.
Like aperture and shutter speed, ISO moves in doubles and halves too. That’s not a coincidence — it’s what makes the exposure triangle a triangle. Any one setting can be adjusted to compensate for a change in either of the other two, because they’re all working in the same units of “stops.”
What is a “stop” in photography?
A stop is simply a doubling or halving of the amount of light. One stop brighter means twice as much light. One stop darker means half as much. It applies across all three settings — a wider aperture, a slower shutter speed, or a higher ISO can each add a stop of light, and they’re interchangeable for the purposes of getting the same overall exposure.
Can pointing a camera at the sun damage the sensor?
Yes — and this is worth taking seriously, whether you’re shooting a solar eclipse or just pointing a long lens at the sun out of curiosity.
The risk works differently depending on your camera type. On a mirrorless camera, the sensor sits directly behind the lens with nothing shielding it — the moment you compose your shot, concentrated sunlight is hitting the sensor continuously, not just for the fraction of a second the shutter is open. That sustained exposure is what puts mirrorless sensors most at risk.
A DSLR has a mirror that bounces light up into the viewfinder for most of the time you’re composing, so the sensor itself isn’t directly exposed until the mirror flips up to take the shot. That’s a genuine layer of protection the sensor gets that a mirrorless camera doesn’t. But it isn’t a free pass — camera repair shops have documented real eclipse damage to DSLRs too, including burnt shutter curtains, scorched mirror boxes, and heat-damaged lens iris blades, particularly with longer telephoto lenses that concentrate more heat and light onto a smaller area. So the DSLR’s mirror reduces the risk to the sensor specifically, but the camera as a whole is still vulnerable.
The practical answer for either camera type is the same: don’t point an unfiltered lens at the sun for any length of time, and definitely don’t use Live View on a DSLR while doing it, since that flips the mirror up and exposes the sensor exactly the way a mirrorless camera is exposed the whole time.
How do you photograph the sun safely?

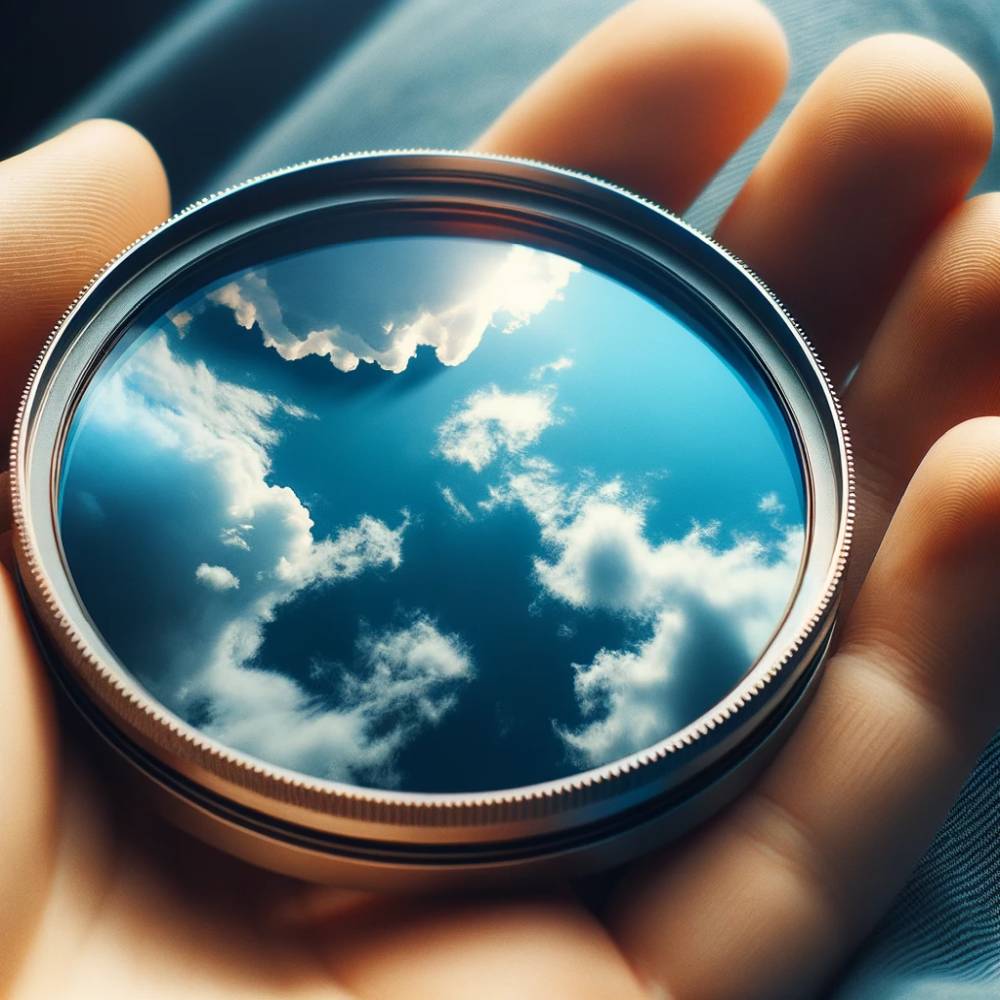
The tool for this is a neutral density (ND) filter — a darkened piece of glass that screws onto the front of the lens and cuts down the amount of light reaching the sensor, without changing its colour. For something as bright as the sun, you need a lot of stops.
Remember, each stop is a doubling. A 15-stop ND filter is fifteen doublings stacked on top of each other, which works out to roughly 32,000 times less light getting through — similar logic to boiling a kettle down to a single drop. That’s dark enough to shoot a multi-minute exposure on a bright, sunny day, or to point a lens at the sun without it taking the full, unfiltered force of that light. I used a 15-stop filter for exactly this reason during a recent solar eclipse shoot, having tested a 10-stop filter first and still finding the sun uncomfortably bright through the viewfinder.
For more on how different strength filters behave and when to reach for each one, my full guide to camera lens filters covers ND, polarising, and graduated filters in more depth.
Putting it all together: filling the same glass three different ways
Because aperture, shutter speed and ISO all move in the same stops, there are hundreds of different combinations that produce an identical exposure — you’re just choosing which “tap” to adjust. Here’s the same result achieved three different ways:
| Aperture | Shutter speed | ISO | Result |
|---|---|---|---|
| f/2.8 | 1/1000s | 400 | Fast tap, short time, big glass |
| f/8 | 1/125s | 400 | Slower tap, longer time, same glass |
| f/8 | 1/125s | 1600 | Same tap and time, smaller glass — brighter result |
Which combination you pick isn’t about right or wrong — it’s about what else you want the photo to do. A wide aperture blurs the background. A slow shutter speed blurs motion. A high ISO gets you a usable shot in low light at the cost of some graininess. The exposure triangle doesn’t tell you which trade-off to make — it just tells you how the three settings relate to each other once you’ve decided.
If you’re just starting to get your head around which setting to reach for in which situation, my beginner photography tips guide walks through practical starting points for aperture, shutter speed and ISO in everyday shooting.
FAQ
What is the exposure triangle in photography?
The exposure triangle is the relationship between aperture, shutter speed and ISO — the three camera settings that together control how bright or dark a photo turns out. Change one and you usually need to adjust one of the others to keep the same exposure.
What should I set first in the exposure triangle?
Start with whichever setting matters most for the shot. If you want a blurred background, set your aperture first. If you’re freezing or blurring motion, set your shutter speed first. If neither matters, start with a low ISO and adjust the other two around it.
Is the exposure triangle still relevant with modern cameras?
Yes. Auto modes and in-camera metering have made it easier to get a correct exposure without thinking about it, but the underlying relationship between aperture, shutter speed and ISO hasn’t changed. Understanding it is still what lets you make creative decisions instead of just accepting what the camera picks.
Can pointing a camera at the sun damage the sensor?
Yes, for both DSLR and mirrorless cameras, though the risk works differently for each. Mirrorless sensors are exposed continuously while composing; DSLR sensors are shielded by the mirror most of the time, but the shutter curtain, mirror box, and lens iris can still take heat damage, especially with a long telephoto lens.
What does a 15-stop ND filter actually do?
Each stop halves the light getting through. A 15-stop filter cuts light by roughly 32,000 times — dark enough for a multi-minute exposure in bright daylight, or for pointing a lens at the sun without the sensor taking the full force of it.
Cheers,
Ade