The Perennial HDR Photography Debate: Is HDR Bad?
As someone who’s used HDR Photography to make a living and has been a fan since 2006, I often get involved in HDR debates. Sigh…
The usual comments would be around
I don’t like HDR, it looks a bit weird
or maybe
I like HDR Photos when they’re done properly
and sometimes you get the odd concession…
Well your HDR is ok because it looks natural
I know why people say they don’t like an HDR photo – you can very quickly find thousands of images which make my mental pictures of Grimm Brothers fairy tales look bland… Google image search “bad HDR” or “overcooked HDR” and you’ll see endless examples.
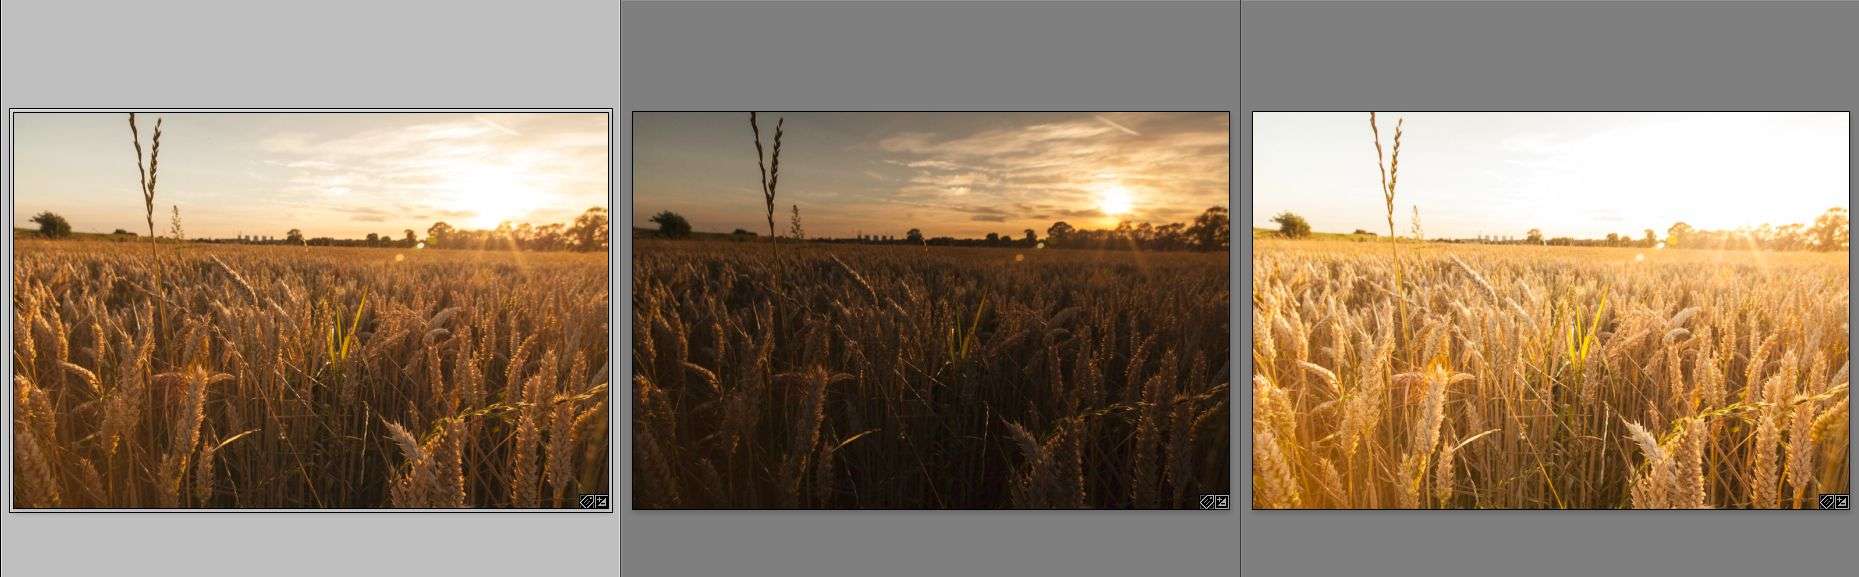
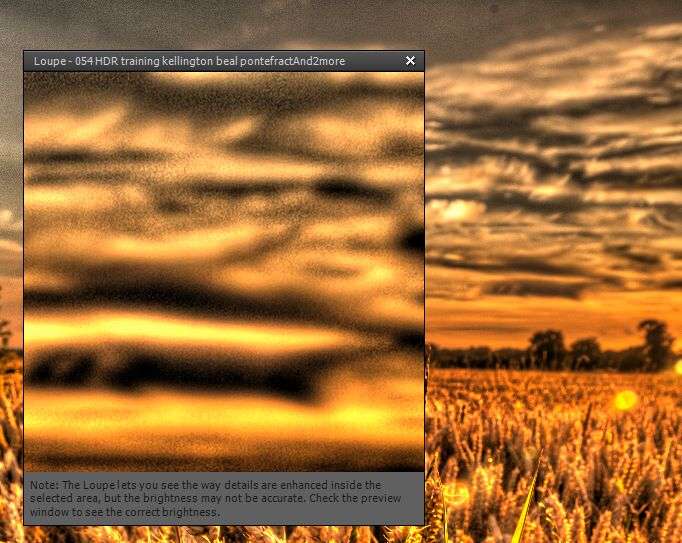
Here’s one of my wheat shots, given the Grunge treatment… horrific

What is HDR? Understanding HDR Examples Before and After
In a nutshell – High Dynamic Range
Stated simply, the “Dynamic Range” of a camera is the gap, in stops, between the brightest and darkest pixel your camera can capture in one shot. There will be a WIKI on it somewhere – go look there for a true definition.
HDR is a technique where we “extend” the range by taking images at different exposures, going from “single dynamic range” to “high dynamic range”.
So if you took, say, 3 photos.
- a “normal” exposure
- a shot 4 times darker (-2EV)
- a shot 4 times brighter (+2EV)
You’d extend your “dynamic range” by collecting more information in the “bright bits” and “dark bits” which you can throw into the mix.
HDR Gathers More Data for You to Work With
Why Use HDR? Good vs Bad
Why would we use it?
Here are several real-world examples where:-
- a nice sky, but a dark subject (e.g. a car, or building)
- a nice subject, but a white sky
- if you use ND Grads – you get a nice sky AND foreground, but a building goes all dark where the dark bit of the grad goes over it
- if you use flash – the subject is way too big for your flashes to light OR the ambient light is too bright for your flashes
- a room photo with blown-out windows or dark corners
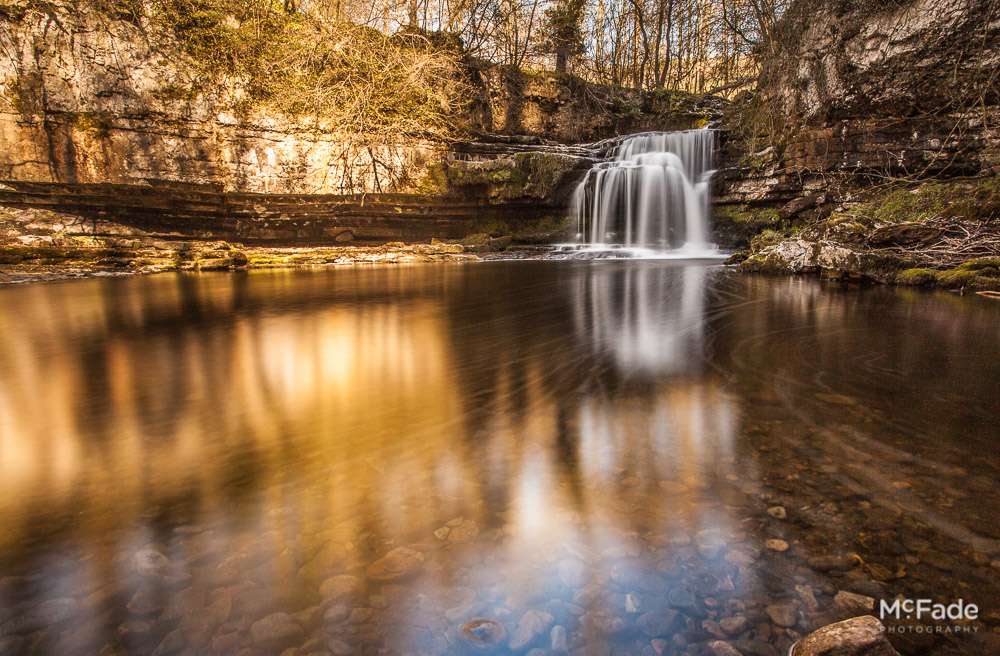
- Waterfalls which are blown out, and nice green surroundings, or nice detailed waterfalls with black surroundings
A geekier way to think of it…
Look at your histogram – if you can’t get a shot without either black clipping, or white clipping, you may benefit from HDR.
So that’s why you’d use it – it’s a way around the limitations of current camera sensors.
Where HDR Goes Wrong: Bad HDR Photos
When I teach HDR, the “capture for HDR” talk takes 5 minutes, and then I help people set up their cameras and out we go. It’s actually a LOT easier to capture than traditional photography – but that’s another blog.
It’s the software which confuses people – somehow they abandon all taste when seeing these alien sliders.
They don’t have the same names as “Levels” or “Curves” in Photoshop, but “Tone Compression” and “Local Contrast

With all this extra information to hand, we can:-
- make previously black areas, bright and colourful
- make clouds hugely dark
- make light areas darker than bright areas
- add way too much contrast and create unsightly halos around the edges of things
- make flat and insipid photos
- create toothpaste-green grass and indigo blue skies
The list of things you can do goes on… and these may be actual creative decisions by people, they may actually “like” them.
Here’s a typical example of “going too far” – halos, weird noise artefact… just a mess.

Just Because You Can, Doesn’t Mean You Should!
So if you “can” do all those things – should you?
NO – definitely not!
If you use a knife to chop food in the kitchen, you can also use it to chop off your child’s fingers, or stab passersby in the street… but do you?
NO – definitely not!
If you got a new knife you weren’t quite used to, would you change your entire way of cooking?
NO – Probably not!
You’d probably have a recipe in mind, and hope that the new knife somehow makes it easier to create – chopping onions faster, cubing your meat with ease…
SO why do (usually) very sane photographers, when getting a new tool, like HDR, totally change their approach to image making?
Why would someone with a “lovely landscapes” portfolio suddenly start producing “eye-bleeding” images?
They “could” create these in Lightroom or Photoshop, but didn’t. Now they open up Photomatix/HDR EFEX etc. and all of a sudden are delighted with something that resembles a small child’s “new paint set” daubings.
Exercise Taste – THINK!!!
I say this in every workshop…
- Sliders to the middle or left = natural
- Sliders to the right = surreal
Which is the same with most imaging software, not just HDR.
If you are starting to see things like Halos, cyber-colours and demonic clouds, THINK!!!
Does that look good? Does it look real? Will I like this in 6 months, or even 6 minutes?
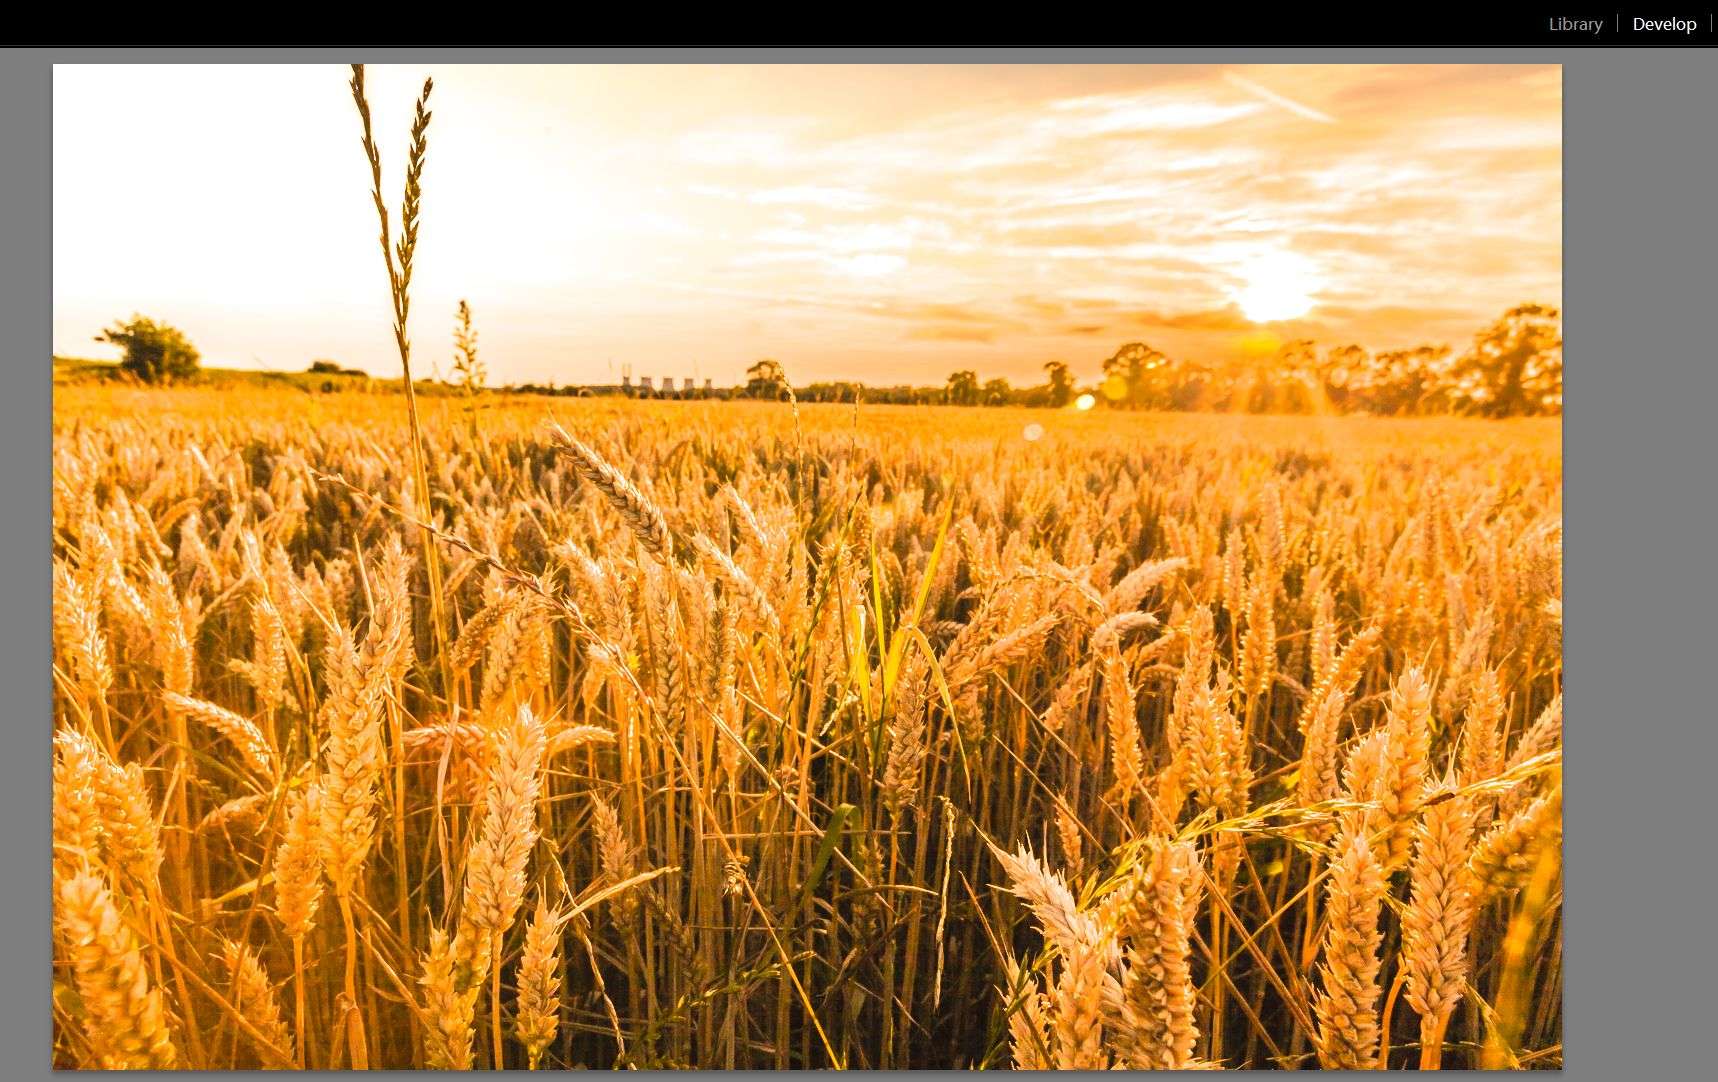
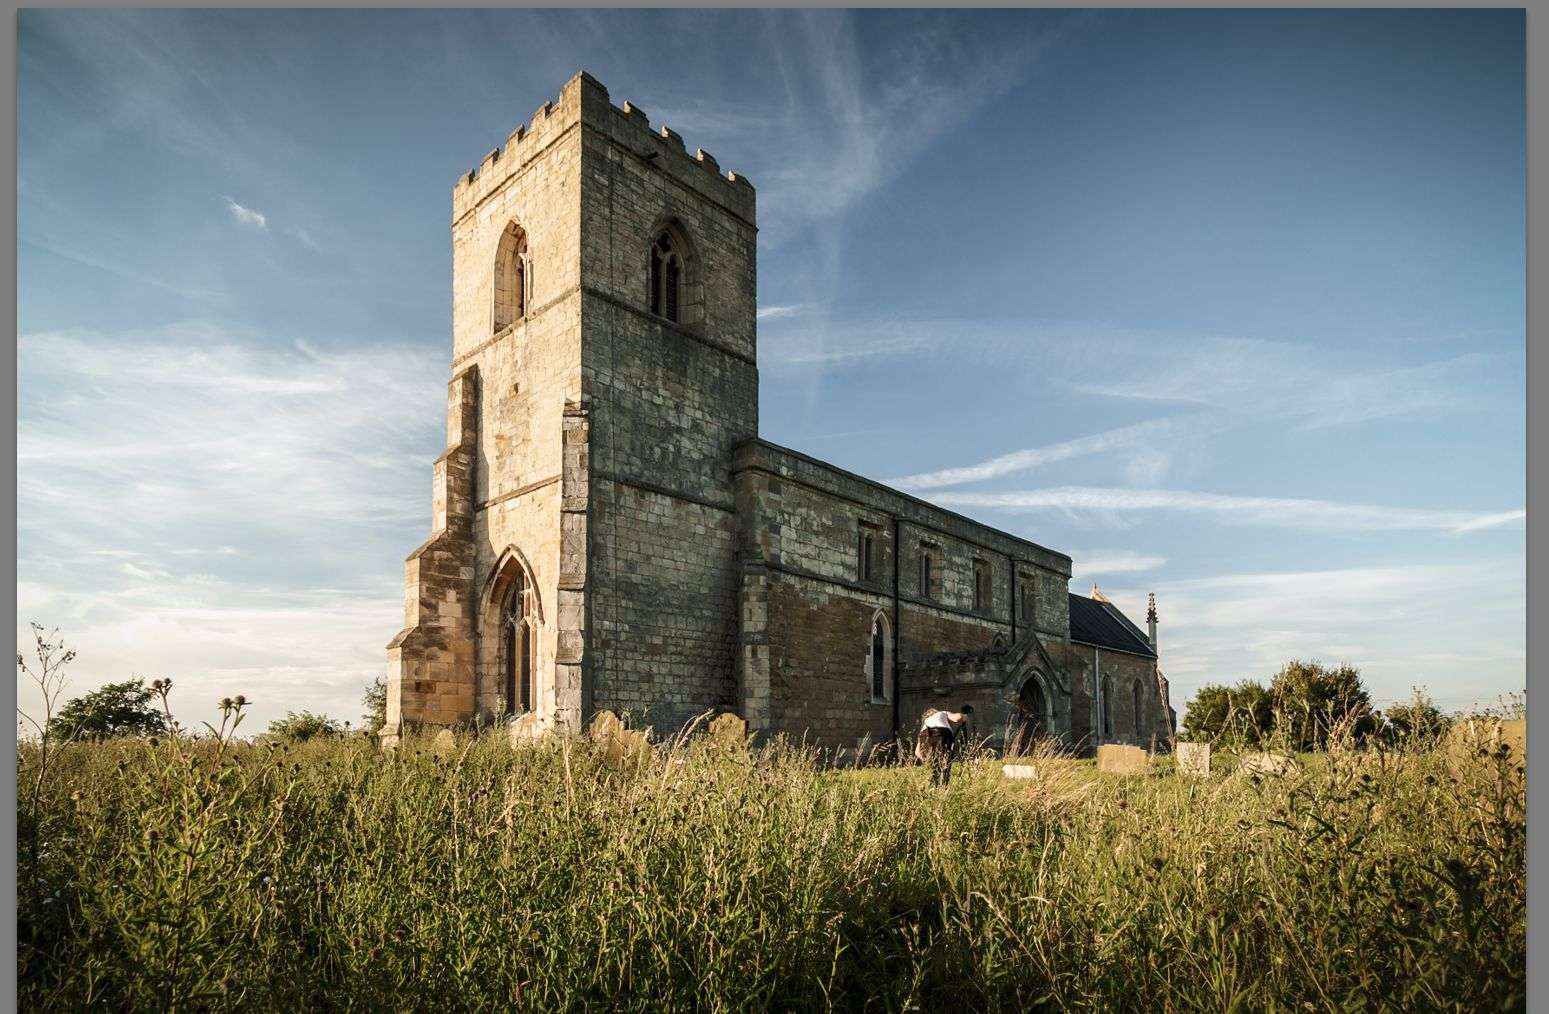
Here’s the same shot as above, in Photomatix… a more “muted” approach… nice detail on the wheat too.
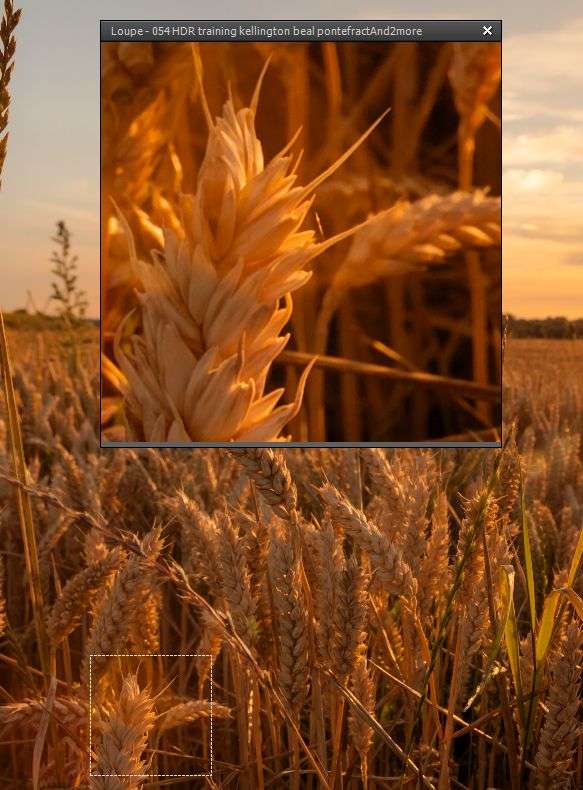
Or how about lowering the saturation a little…
Looking a little more realistic?
It’s not hard – it just takes a little practice and exercise of taste.
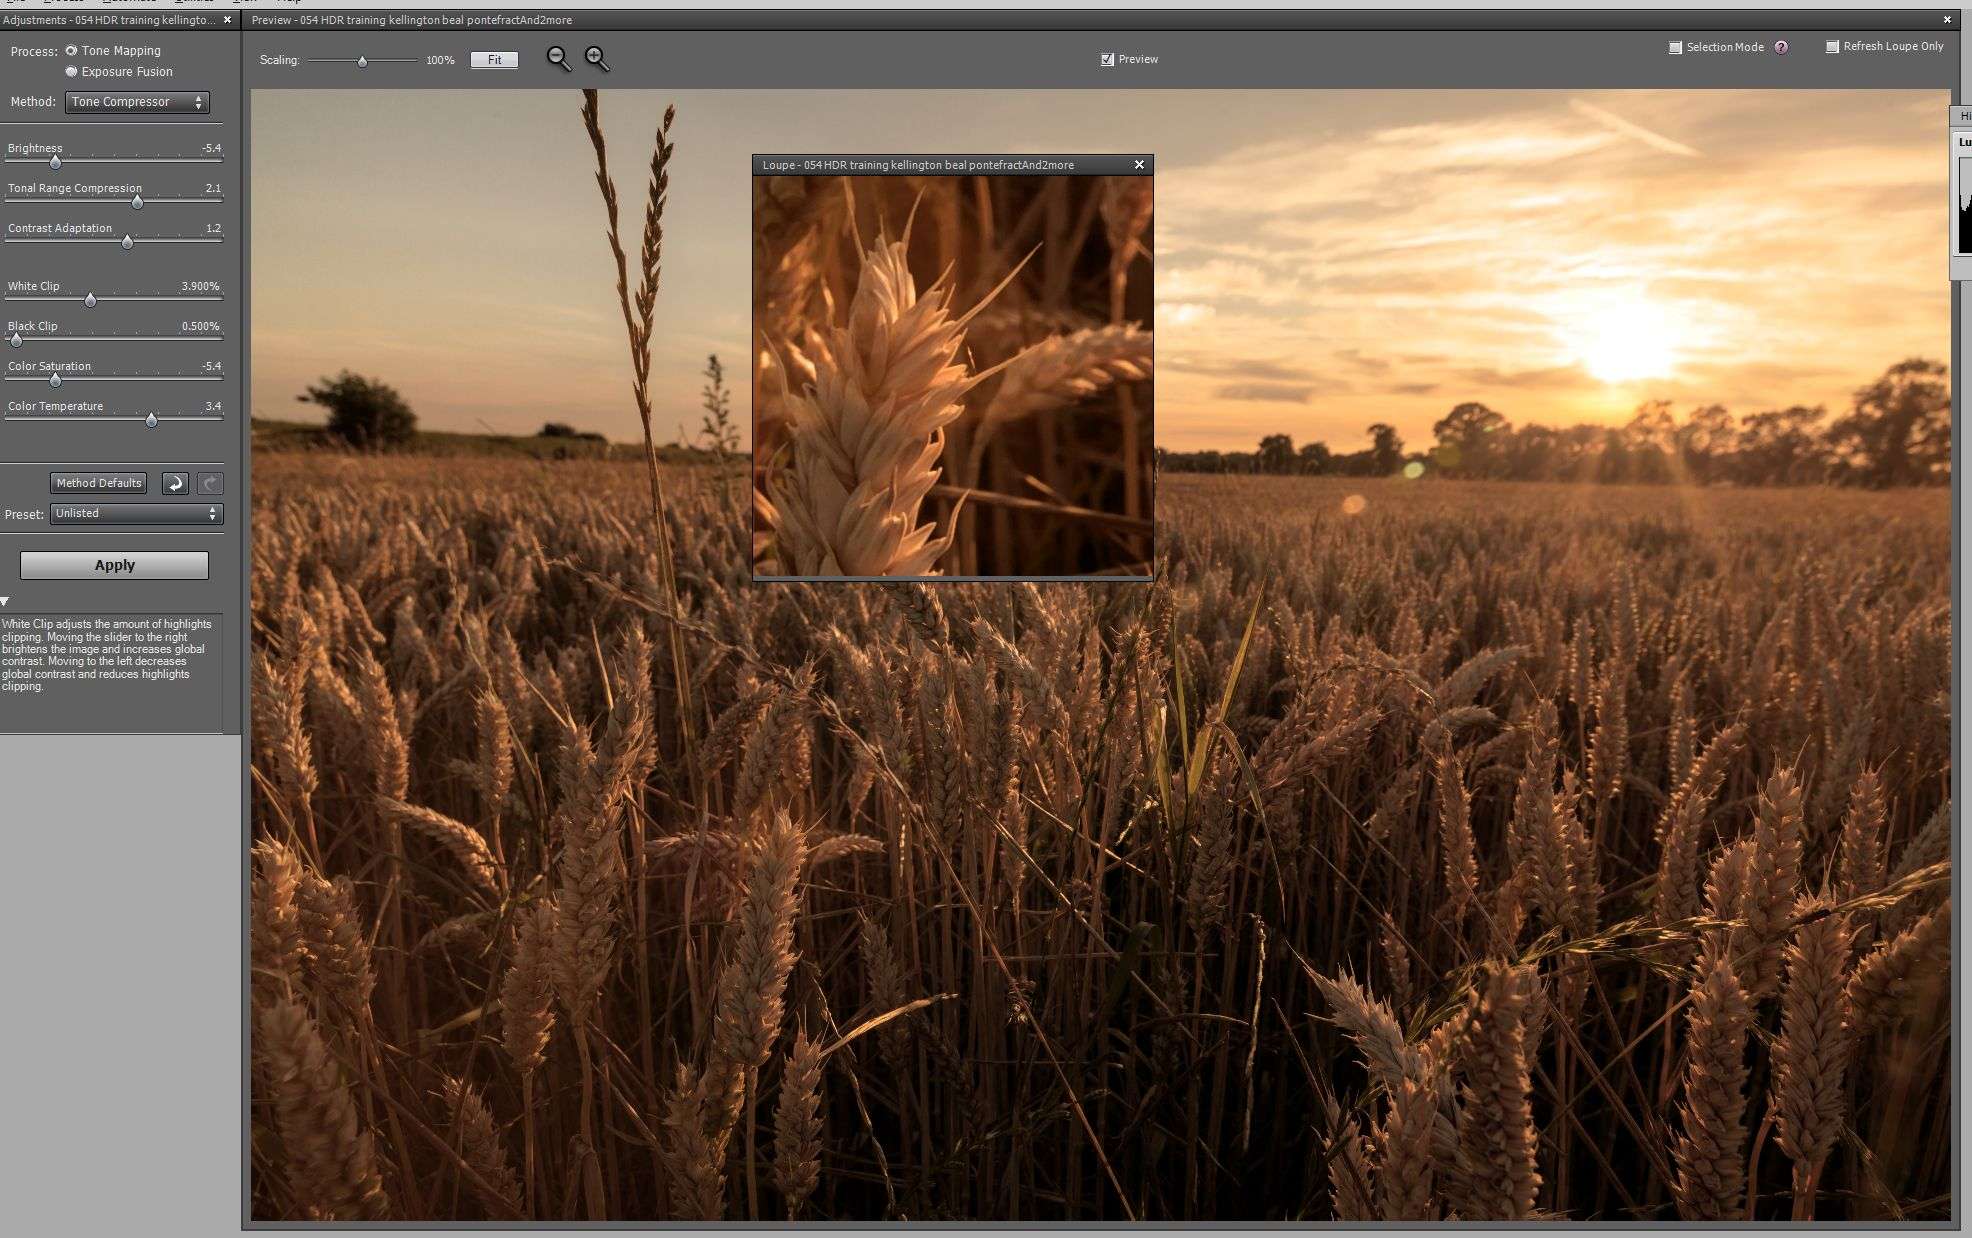
This last shot would probably have the dark areas lifted a little more in Photomatix (the processing was just for this blog, not a “proper” image), then finished off in Photoshop or Lightroom – usually to sharpen the key details, maybe clone out some flair – the usual things.
What to Do if You Get Stuck…
Ok – so you’ve been moving sliders for 10 minutes and it’s going very wrong…
This is the biggest source of bad HDR… people don’t accept that they’ve painted themselves into a corner… they keep going, till the death of the image!
Photomatix has 3 methods of Tone Mapping, and 5 or 6 of Exposure Fusion
If you are going nowhere fast, do this…
- Change your “method” – maybe from an Exposure Fusion to Tone Mapping method
- Move all the sliders to default position,
- Slowly move sliders – to the left, to the right, see which “enhances” and which “makes surreal”
- Gradually change till it looks nice.
- Look at something else for a few minutes – facebook, twitter, the kettle
- Come back – look again, does it still look good?
OR
- Take a look at the “presets” most HDR packages come with
- Choose one which looks natural or realistic
- Click on that – this is your new start point
Church Example: Bradford Cathedral Photos
Quick overview of a different subject – a church.. one side in shadow, one in bright light. Probably a good candidate for a HDR…
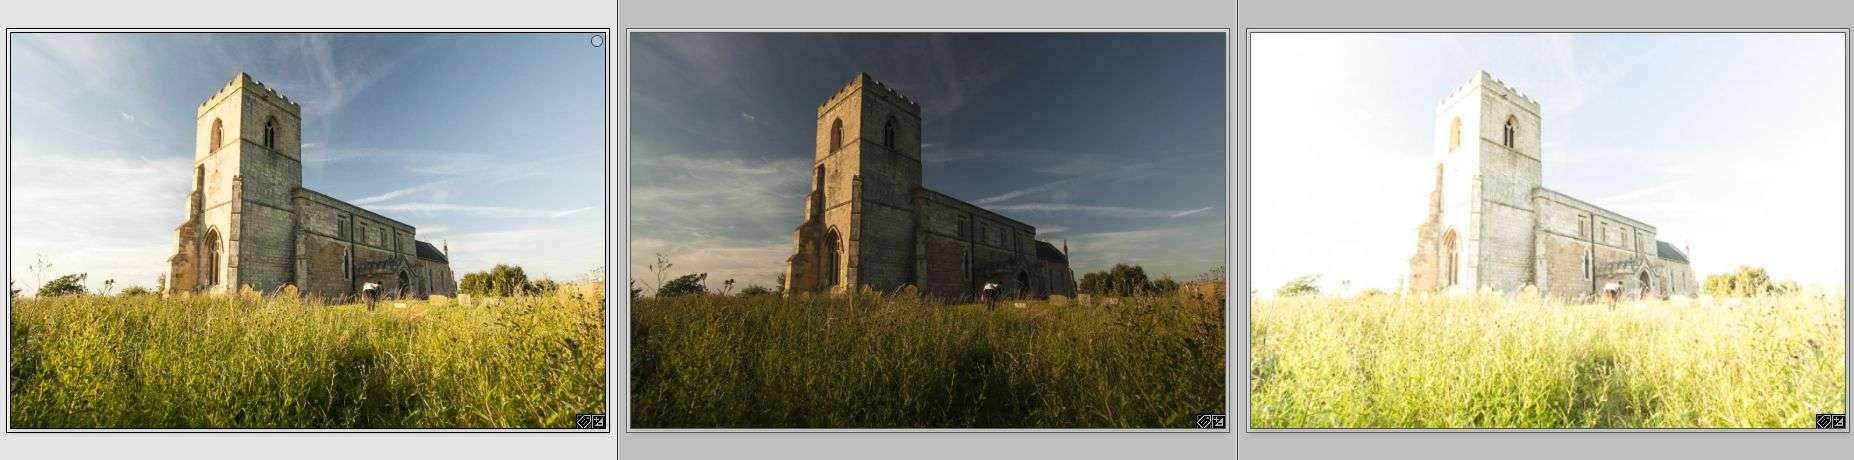
So how many would go for this as a start point?

Well that would be one way… but how about the Photographic Preset instead?

Then have a quick play with the sliders…

Then you can pop it back into Lightroom and tweak away to your heart’s content.
Here’s a 1-minute tweak…
HDR Is a Tool… But Is HDR Bad?
So to conclude then…
HDR will end when sensor technology advances – maybe the camera will capture the entire range of tones in a scene, then render what it decides to be the best representation… or give mega-raw-files for you to tone map… who knows.
Till then, this is the best option available in many situations. It works well – far better than my first experience in 2006.
When people criticise HDR, they are bemoaning the wrong thing – the technology and tools are fine – it’s the people who use them which make bad images
A hammer can blacken your thumbnail, bludgeon your brains out, break your teeth and shatter your kneecaps – it can also build a bird box, help fit a gate or even keep old ladies warm by fitting an insulating strip around a door.
HDR Can Make Horrendous Monstrosities, or Beautiful Images, Which Would Be Otherwise Impossible… It’s All in the Control of the Human Operator!
Related Posts

Don't Forget About Photography!
Yorkshire Photo Locations – West Burton Force
How to take better travel photos on your smartphone
Manchester Street Photography Workshop
5 Things Every Portrait Photographer Needs To Know- Leeds Band Photography on the Bridge

Master Macro Photography: Techniques and Tips for Stunning Close-Ups
If You Are Good At Something, Don’t Do It For Free