Start Your Macro Photography Journey Today: A Complete Guide to Capturing the Small Wonders

Macro photography is a captivating form that allows photographers to explore the minutiae of our world, from dewdrops on a spider web to the intricate patterns of insect wings.
This guide covers basics to help you start learning the techniques and creative nuances essential for capturing stunning macro images. In addition to understanding the fundamentals of macro photography, experimenting with lighting and composition can greatly enhance your images. For those just getting started, this guide will also include some valuable macro photography tips for beginners to ensure you’re equipped with the right knowledge. Embrace the process of trial and error, as this will help you refine your skills and develop your unique style.
Introduction to Macro Photography

Macro photography transforms ordinary subjects into extraordinary, revealing details and textures not visible to the naked eye.
You can move in a lot closer with a macro lens, making it possible to capture tiny things you’d not normally be able to shoot. Most of the images in this blog post are from a walk around Morley, so just me and my macro lens, a flash and a fair bit of kneeling down!
Essential Equipment for High-Quality Macro Shots

Choosing the Right Macro Lens
Select a lens that offers true 1:1 magnification, such as the 100mm f/2.8 or the 60mm f/2.8 macro lenses, which are ideal for both beginners and professionals.
You can find second-hand bargains on EBAY or similar – don’t blow too much when starting out. I use the canon 100mm F2.8 – not the L but the classic USM.
The Role of Tripods in Macro Photography

A sturdy tripod stabilises your setup, especially in low-light conditions or when capturing extremely fine details.
They’re great on still days, but not so good in the wind, as your subject moves a lot. If you’re working indoors then 100% use a tripod.
Managing Movement
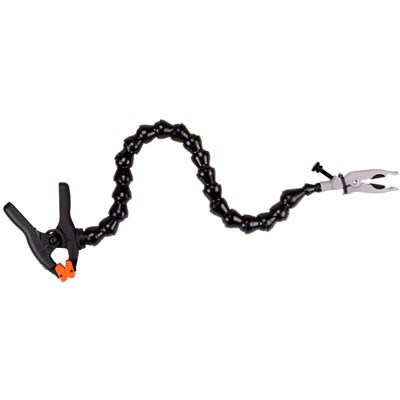
Even the slightest movement can ruin a macro shot. Techniques such as using a plamp to stabilise subjects or shooting in calm conditions are essential.
Outside – you can use a PLAMP which is a very cool device that clamps to your tripod AND the plant you’re shooting, stopping it from moving so much
Lighting Your Macro Subjects
Effective lighting is key. Ring flashes and dedicated macro twin lights can provide the consistent, detailed illumination needed for macro photography.
I use the Ring flash on front of the camera fair bit, but the straight-on light is a little boring compared to holding a flash to one side of the subject.
You can see the circular flash reflection on this fly

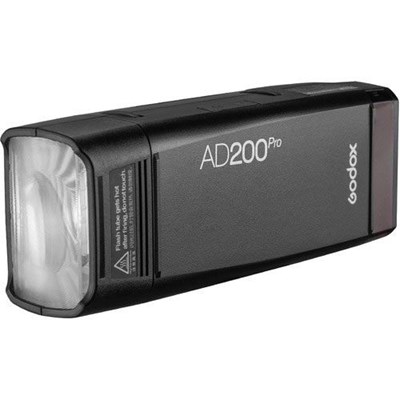
I usually just use my trusty Godox AD200 in my left hand, camera in the right, and hold it at 45-90 degrees, it gives more depth to the image.
Advanced Composition Techniques
Working with Depth of Field
Depth of field is particularly narrow in macro photography. Learning to control the aperture and focal length can help you keep your subject sharply in focus while artistically blurring the background.
To be fair thought, with macro, even F16 has a fairly shallow DOF, so I usually pump the flash power up and shoot at F8 or F11
The Art of Focus Stacking
Focus stacking is a technique where multiple images at different focus distances are combined in post-processing to create a photo with greater depth of field than is possible with a single exposure.
I have Helicon stacking software, and the Canon R5 allows auto-stacking, which takes away much of the effort involved in focus stacking. It uses a lot of images, sometimes 100+, and takes up a LOT of hard drive space!
Creative Approaches to Macro Photography

Exploring Different Subjects
Experiment with a variety of subjects from nature, including insects, plants, and everyday items, to find interesting textures and patterns.
My advice is to go for a walk in the country, just take the Macro lens and a flash/trigger, and walk till you find something interesting – could be a flower, grass, ants, interesting moss… anything. Then hold the flash close to it, take a shot and learn… maybe use ETTL at first.
I’d go with ISO 100 – F8 – 1/200th and flash on ETTL to start with – see what happens.
Using Color to Convey Mood
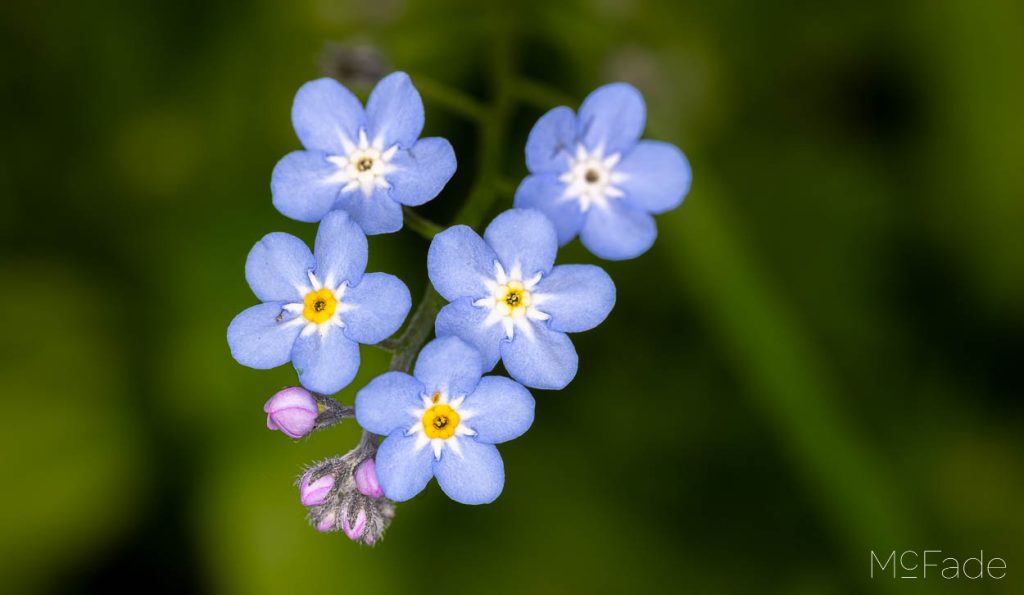
Colours play a crucial role in the composition. Bright colours can energize an image, while cooler tones can create a more subdued, calming effect. You’ll usually find more warm than cool, though bluebells and forget me nots are pretty common.
Addressing Common Challenges in Macro Photography

Dealing with Difficult Lighting
Diffusers can soften harsh sunlight, and reflectors can fill in shadows, balancing the light in your macro photography setups. Refelctors are good on bright days, or to bounce back flash – but you will need to grow extra hands, or use the Plamp to hold the reflector
Incorporating Environmental Elements
Creating a Natural Backdrop
Use natural elements to enhance the composition without distracting from the main subject. Subtle backgrounds can make your primary subject stand out. It’s going to be blurred anyway, so good to find a bit of colour if you can
Incorporating Water Droplets
Water droplets can add an interesting element to macro photographs, especially when they reflect the surroundings. Some people take a little haze sprayer to fake it, it can work wonders.
Frequently Asked Questions
- What is the best time of day for macro photography? Early morning or late afternoon provides softer light, which is ideal for macro photography to reduce harsh shadows and highlights. If you’re using Flash though, any time!
- How do I choose the right background for my macro shots? Opt for backgrounds that provide contrast but are not too busy to distract from the subject.
Related Posts
- Soundcloud Audio Post Format

2015 Photography Review 9 – September
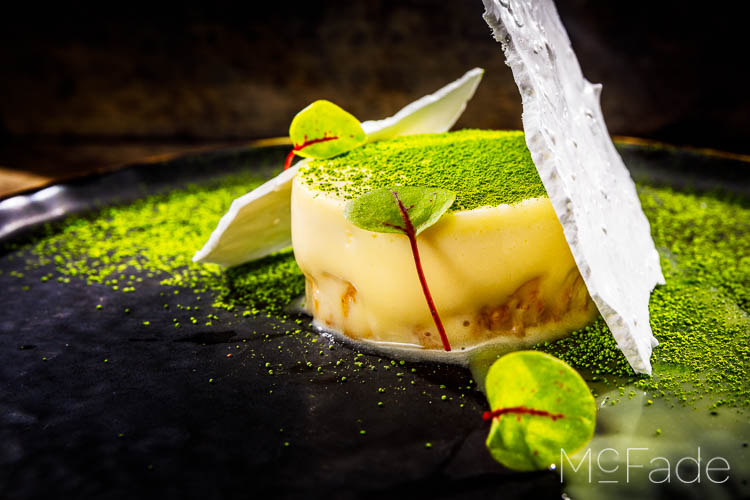
Plating Perfection: Must-Have Photos for Restaurants to Whet Appetites Online
Facebook feedback from Claire and Andy’s Wedding
LIGHTROOM tutorial – Landscape – Swaledale Waterfall- McFade Photography in Blackpool

What can McFade Photography do for you?
Changing the face of Bradford Business on Linked-IN