Mean, Moody and Mono
Sometimes you don’t get that perfect light – the colours are missing and you’re tempted to get back in the car and drive home.
But so long as you’ve got a little definition in the sky and it’s not pouring down, then stick around – get some shots with the intention of going “black and white” in processing.
I usually switch the camera to Monochrome when shooting – just so the preview on camera looks black and white – remember that the RAW file always contains colour info anyway, so you don’t lose anything.
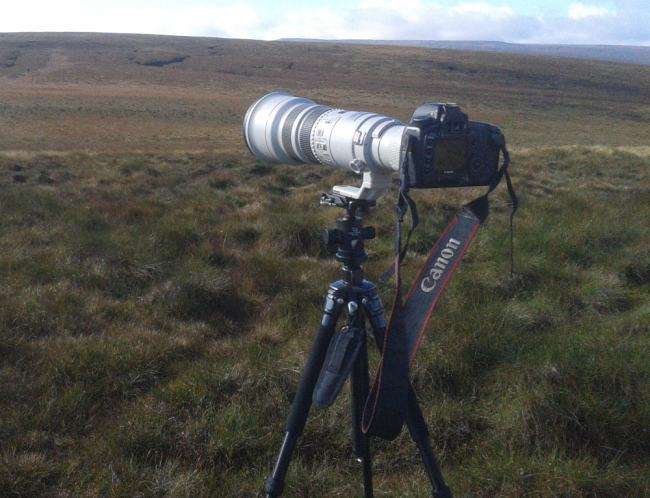
The Base Photo
As you can see from this unedited shot – it wasn’t the most inspiring of days in Yorkshire, but there was sky definition – so I stuck around and took 63 photos of the area.
This is 2 of them stitched together.

After about 7 minutes in LIGHTROOM…

The basic steps are
- Choose a colour profile – a new feature in LIGHTROOM
- Tweak the Basic Settings – take time
- Add a split tone to cool it down a bit
- Sharpen
- Vignette
- Grad Tool – including the new Luminosity slider
- Brush Tool
- Crop
Rather than typing the details, here’s a video which explains it all – every step!
The Video