You can’t always win 🙁
Some days were just not made for landscape photography, unfortunately my recent Northumberland trip had 3 consecutive days….
Not one to be defeated, I did clamber onto some rocks and get a few wave shots, but as you can see here there was little help from the ambient light.
Also, I’d found an old 3-stop ND filter that fitted my 28mm F1.8 lens, so used that – it gave a pretty horribly magenta cast….
The untouched RAW File

So to rescue it in Lightroom… here’s a few steps to show you what it can do – I’ll add that the final result isn’t going to win any awards! This is for demonstration purposes only.
White balance and dust

So step 1, get a proper white balance (you can do this if you shoot RAW) and zap the dust bunnies – I’ve missed one next to the “a” on my logo, but removed that later.
Tone Adjustments

Step 2, have a play with the “Tone” controls, here you can pull detail out of the darker areas like the rocks, also create contrast in the water – the water being the main interest here of course.
Presence Adjustments

Next step, Presence…
Clarity is like “contrast on steroids” and seems to pull detail out of thin air, so on this step I’ve added a fair chunk of that, and added a bit of Vibrance too, just to see whether I can get that seaweed to stand out more. Note that the rocks seem a little reddish…
Colour Adjustments

In this step, I had a go with the colour sliders, upping the luminance of the seaweed and lowering the saturation of the rocks a bit – it’s had very little effect as the colours are pretty muted, though the seaweed does stand out a little more.
Lens corrections

Here we’ve sharpened, levelled the horizon (wasn’t far out) and added in Lens Correction. Not a huge change really.
Selective Brush Adjustments

And finally, some “selective” adjustments with the brush tool. This is where the real power comes in – being able to paint changes on specific parts of the shot. You’ll notice that the water has more punch, the sky is darker, the rocks brighter… you can’t do these enhancements “globally”, they need to be selective.
Were you to do this in Photoshop, you’d need to know about layers and masks (or use the Dodge/Burn tools and change pixels – a bad thing), but in Lightroom V4, it’s really simple to do with the brush tool.
You can obviously do more in Photoshop, dropping in a few clouds, add in some birds, a boat and fisher man…. whatever you like!
So there you go – a demonstration of how a RAW shot with very little potential can have detail pulled out of it, contrast and vibrance added and transform it a little…. but its also proved that, to get a decent shot, you need decent light in the first place 😉
Related Posts

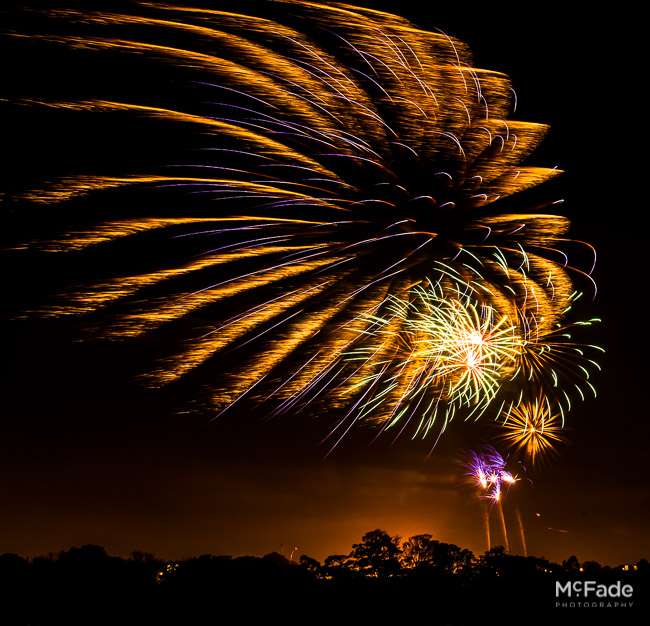
Fireworks Photography Tips- Youtube & Vimeo videos

Maximising your photography investment
Mastering the Art of the Perfect Professional Headshot: Top Tips and Techniques- Inside the Sage

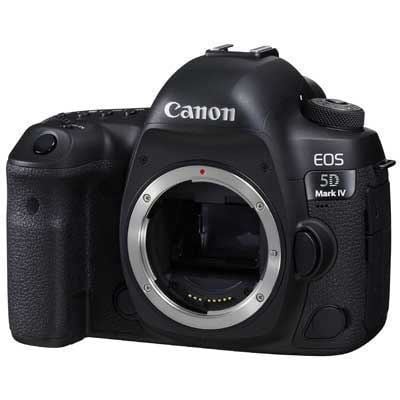
11 Reasons Why I STILL Love the Canon 5D Mark 4
How Quality Photography Boosts Your Construction Brand- Night Photography Programme Starts