Why I Use Manual Mode with Auto ISO for Event Photography
Direct answer: Manual mode with Auto ISO is a practical way to photograph events in mixed light when you cannot use flash. You keep control of shutter speed and aperture, so motion blur and depth of field stay consistent, while the camera adjusts ISO as you move from bright windows to dark corners. That usually means more usable frames, less faffing with settings, and a smoother workflow during fast-moving talks, meetings, and conference sessions.
A lot of photographers talk as if proper professionals should always shoot fully manual and do every exposure adjustment themselves. I used to think that too. In real event work, though, rooms are rarely tidy or predictable. One side is blasted by daylight, the other is gloomy, and you are often expected to work quietly without flash, without interrupting the speaker, and without missing the moments that matter.
That is exactly where Manual mode with Auto ISO earns its keep. You still make the creative choices. You decide the aperture. You decide the shutter speed. The camera simply handles the brightness swings by changing ISO as you point it at different parts of the room. It is not magic, and it is not perfect, but it is an awfully useful compromise when the light is all over the place.
- You keep a consistent shutter speed for people speaking, moving, and gesturing.
- You keep a consistent aperture for the depth of field you actually want.
- The camera adjusts ISO as the scene gets brighter or darker.
- You spend less time twiddling dials and more time watching for expressions, reactions, and little in-between moments.
Surely professionals only shoot in manual?
I have never been a massive fan of giving up control over exposure. Especially when you are being paid, you want to know what your camera is doing and why. Full manual still makes perfect sense in controlled situations where the light is stable, such as portraits with flash, product work, or anything in a studio where you can keep things shipshape.
Event coverage is different. Imagine a conference room with big windows along one wall. Turn one way and you are exposing towards a bright window. Turn the other way and your subject is deep in the room, nowhere near that daylight. If you stay in full manual with a fixed ISO, you either stop every few seconds to adjust exposure or you accept that plenty of frames will be too dark or too bright. Neither option is much use when somebody is making a key point, laughing with a colleague, or reacting to the speaker for half a second and then the moment has gone.
So the point here is not that manual exposure is wrong. It is that mixed-light event photography is one of those bonkers little corners of the job where a pragmatic setup often beats a purist one.

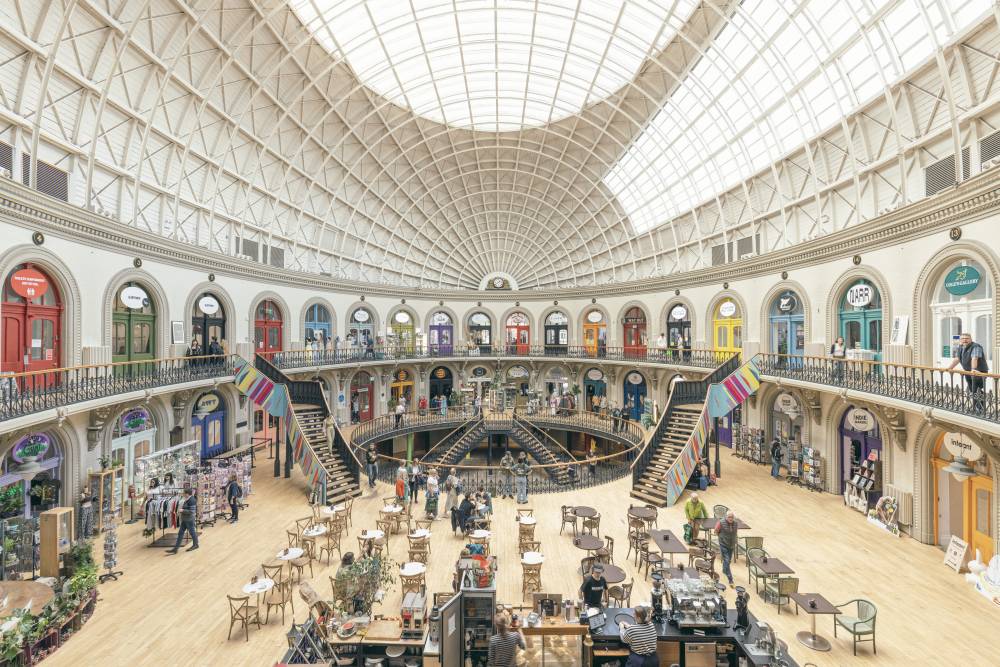
These photos were sized for web speed and are lower-quality JPGs.

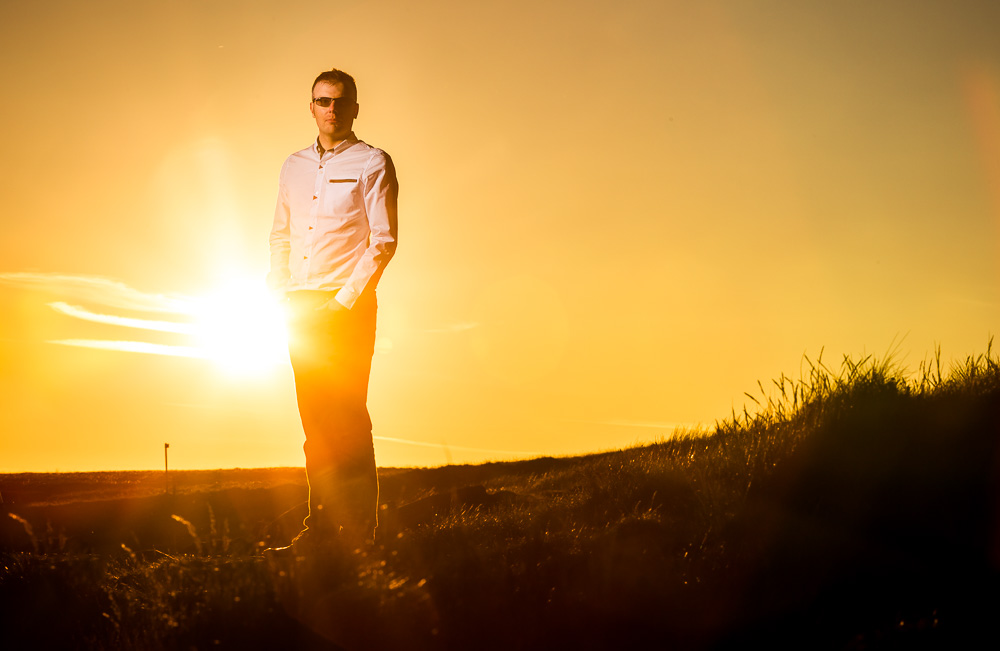
The window-facing shot was taken at ISO 200, while Gary’s shot was ISO 4000. That gives you a decent idea of how much the brightness shifted within the same room.
Why not just use Aperture Priority or Shutter Priority?
You absolutely can use Aperture Priority or Shutter Priority, and for plenty of photographers that will be enough. The trouble is that each one gives up a bit of control you may actually care about during an event.
- Aperture Priority: you set the f-stop, but the shutter speed can drop too low in darker corners. That is where camera shake or subject blur starts creeping in.
- Shutter Priority: you lock the shutter speed, but the aperture can wander, which means your depth of field changes from frame to frame.
- Manual with Auto ISO: you lock both the shutter speed and aperture, and the ISO becomes the safety valve.
I used Aperture Priority regularly until I realised that Auto ISO in a manual-style workflow solves the main headache: keeping your shutter speed sensible in dark bits of the room. That is brilliant when people are moving, turning, laughing, nodding, or doing all the small human things that make event coverage feel alive.
There is also a consistency benefit. If you are delivering a whole set from a meeting or workshop, it helps when the images feel coherent. Keeping your chosen shutter speed and aperture steady means motion rendering and background blur stay much more predictable across the job.


How do I set up Manual mode with Auto ISO?
I use Canon’s 5D Mark IV, though most cameras with Auto ISO work in a similar way. My usual starting point for candid event photos with a 70-200mm lens would be something like this:
- Shutter speed: about 1/250th of a second
- Aperture: around f/4
- ISO: set to Auto
On the 5D Mark IV, Auto ISO is found by dialling past ISO 100. Depending on how your settings are configured, you may see “L” and then “A”. Once that is set, the camera will raise or lower ISO to match the brightness of the scene while leaving your shutter speed and aperture alone.
That said, you still need to use your loaf. There is no perfect one-size-fits-all setting. You have to test what the room is doing and adjust the baseline accordingly.
- If the room is very bright, you may need a faster shutter speed or a smaller aperture to avoid burning things out, such as 1/500th at f/4.
- If the room is very dark, you may need a slightly slower shutter speed or a wider aperture so the ISO does not go completely through the roof, such as 1/200th at f/2.8.
That is where experience comes in. You are not handing exposure over to the camera and buggering off for a cup of tea. You are setting sensible guardrails. The camera just does the repetitive bit faster than you can.
It is also worth checking your files afterwards. Reviewing EXIF data helps you see whether your chosen shutter speed, aperture, and ISO range are behaving as expected, and Canon notes that EXIF can be useful for working out practical things like the slowest shutter speed you can get away with handheld in real jobs. Canon’s guide to EXIF and metadata is a decent nuts-and-bolts reference for that.
What work does the camera do for you?
Once you have set your shutter speed and aperture, the camera simply shifts ISO according to the brightness of what you point it at. So when you turn towards somebody stood near a bright window, the ISO may fall right down. Swing round to somebody tucked away in a dim breakout area, and the ISO may climb sharply. The creative bits stay yours. The donkey work changes in the background.
That matters because event photography is not really about technical purity. It is about not missing what is in front of you. Reactions. Conversations. The split second where a speaker points at somebody in the audience and everybody laughs. If you are buried in your settings menu every time a person takes two steps to the left, you will miss a fair chunk of the day.
So let’s say you are in a breakout session. One attendee is miles from the windows in fairly flat light. A moment later, someone else leans in right next to two windows. With Manual mode and Auto ISO, you can photograph both without changing anything else on the camera. That is the whole appeal.


The window-side shot may come in at ISO 100, while the darker corner may end up at ISO 8000, but both can land in roughly the same exposure ballpark without you touching a thing. For live events, that is cracking because it keeps you responsive.
What about exposure compensation?
This is the bit that confuses a lot of people, and fair enough, because camera behaviour varies a bit by make and model. In the original version of this article, the simple rule was that you could not set exposure compensation in Manual with Auto ISO and needed to jump into Av or Tv to do it there. That is still how many photographers think about the workflow, and on some bodies it may match what you are used to.
However, it is worth checking your own camera manual rather than assuming every body behaves the same way. Canon specifically notes that some EOS cameras can use exposure compensation in Manual exposure mode when ISO is set to Auto. So the safe advice in 2026 is this: test it on your camera before the job, and do not rely on memory or hearsay.
- Set your basic shutter speed and aperture first.
- Take quick test frames facing the bright side and dark side of the room.
- If highlights are blowing badly, pull the exposure down.
- If everything looks muddy and undercooked, nudge it up.
- Re-check whenever the light changes, especially if clouds are moving across windows.
The reason being is simple: exposure systems are clever, but rooms are messy. White walls, dark suits, projection screens, window light, and LED lighting can all push metering around. A quick test at the start saves a lot of grief later.
Conclusion — it is not perfect, but it is practical
Manual mode with Auto ISO is not a religion. It is a working method. For photography where you cannot use flash, it gives you a very handy middle ground between control and speed. You keep the creative choices that affect the look of the frame, and the camera takes care of the repeated exposure shift as you move around the room.
That is why I like it for conferences, meetings, workshops, and other events where the light is inconsistent and the moments are fleeting. Events are all about capturing those little moments. A setup that helps you react faster, while still keeping the look of the images consistent, is worth using. So there you go.
Quick takeaways
- Use Manual mode with Auto ISO when the room brightness changes massively from one side to the other.
- Pick the shutter speed and aperture for the look you want, then let ISO absorb the light changes.
- Test bright and dark corners before the session starts.
- Watch for ISO climbing too high in very dark spaces and adjust your baseline if needed.
- Check your specific camera’s behaviour for exposure compensation with Auto ISO.
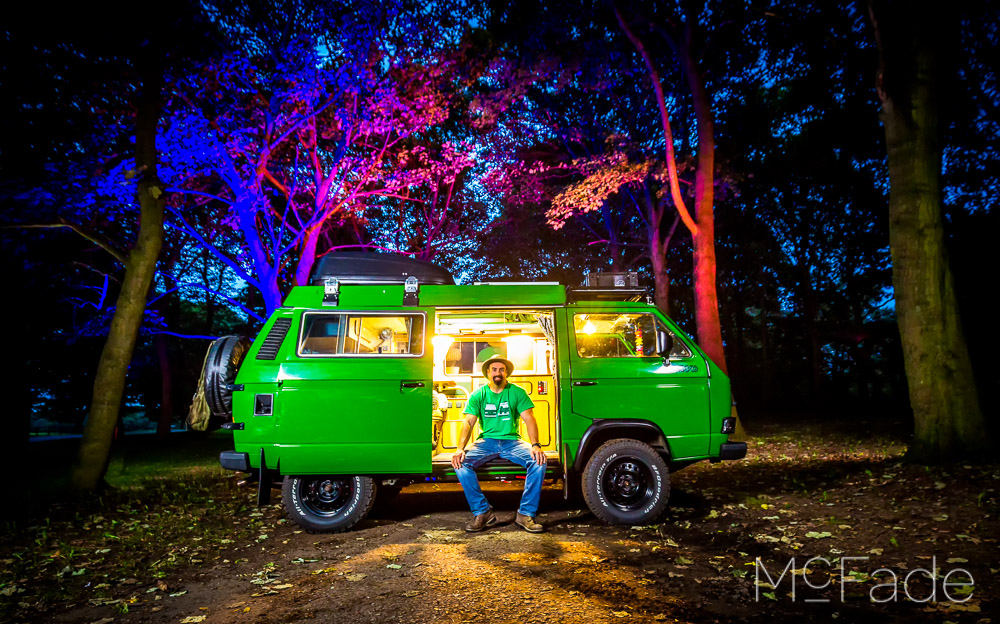
Ade McFade is a commercial photographer based in Leeds, Yorkshire, with over 14 years shooting for businesses, brands, and editorial clients across the region.